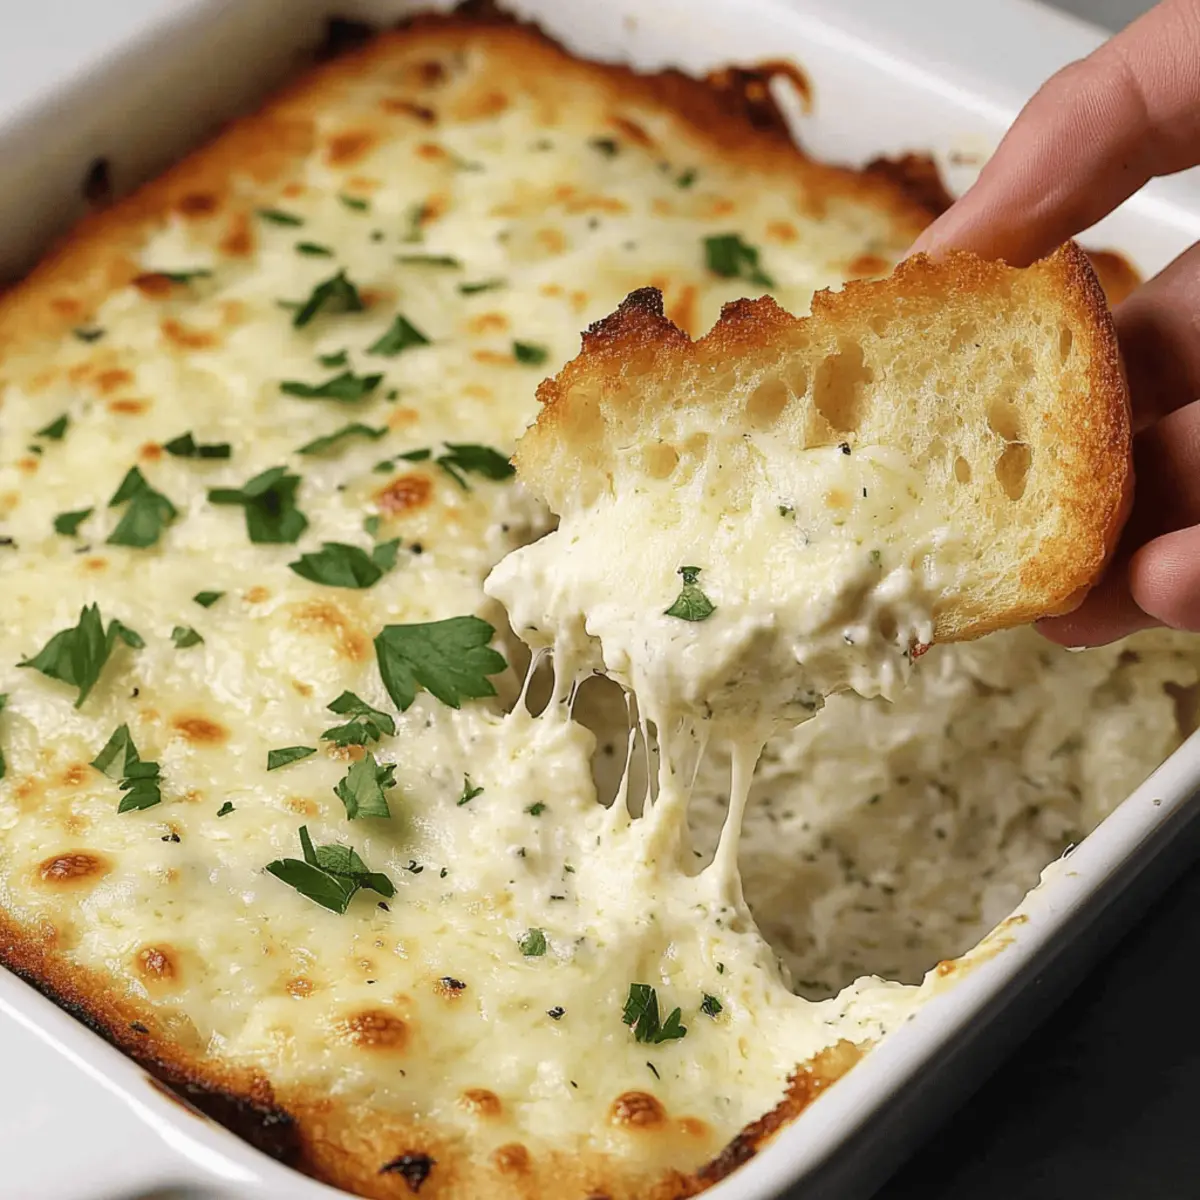
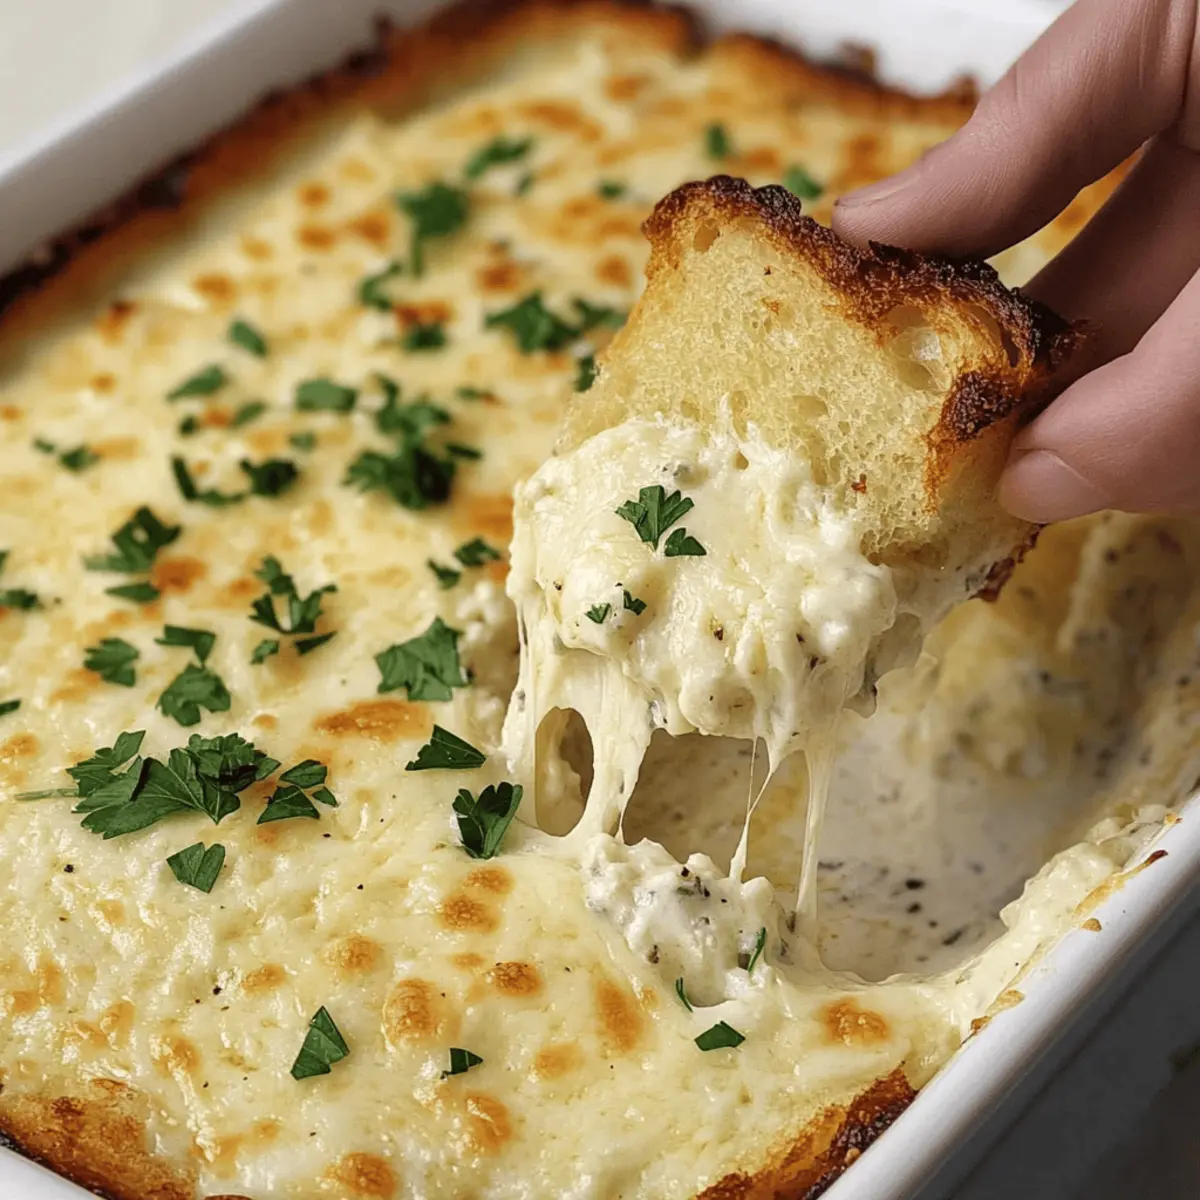
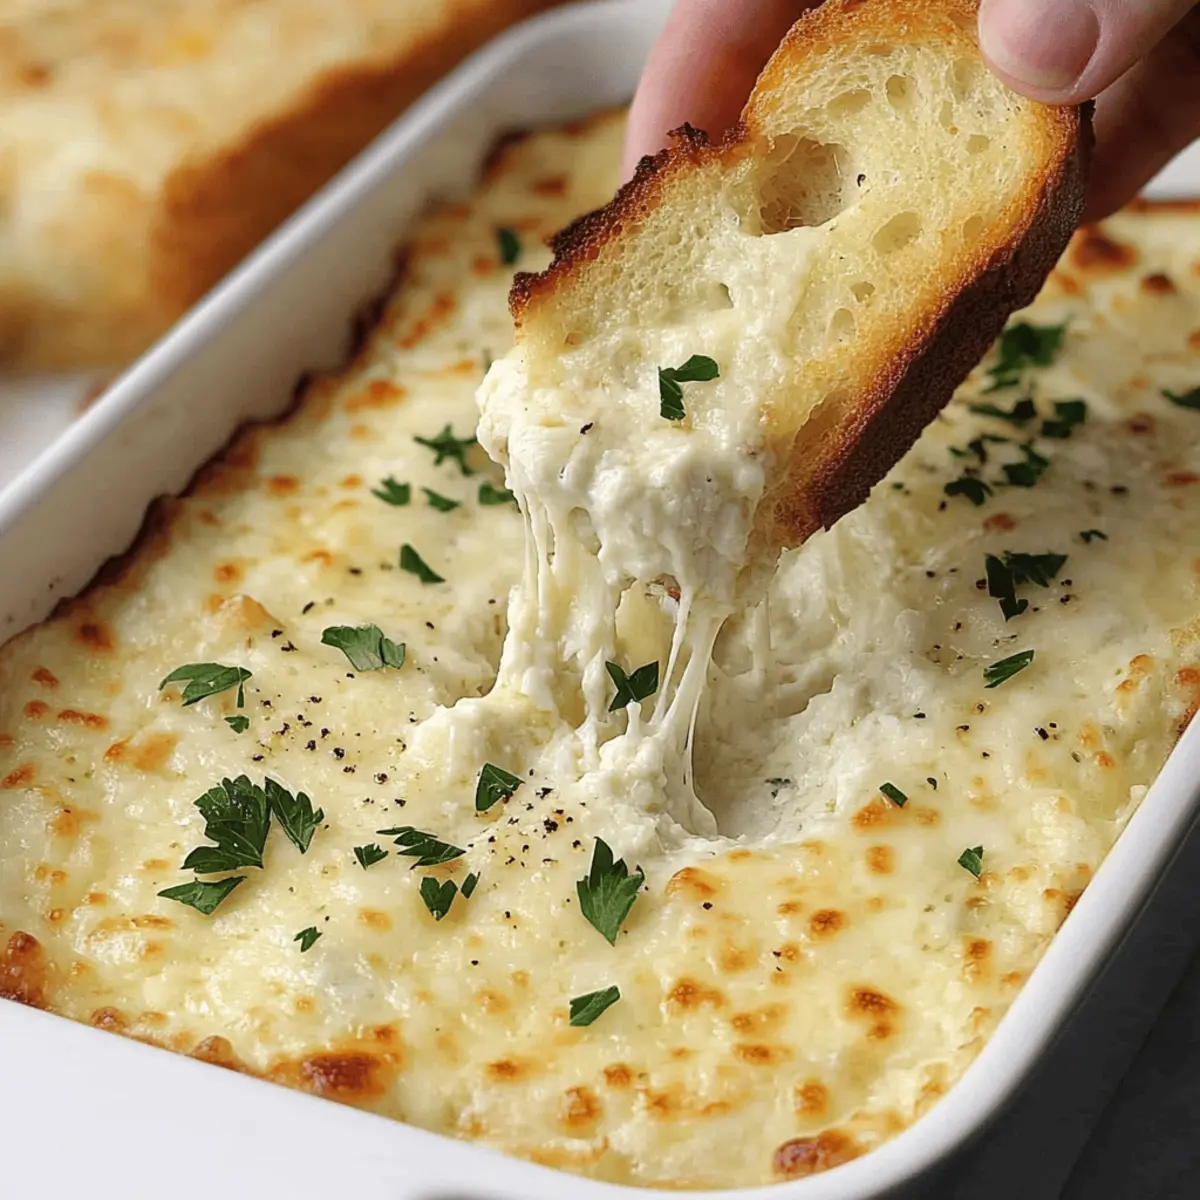
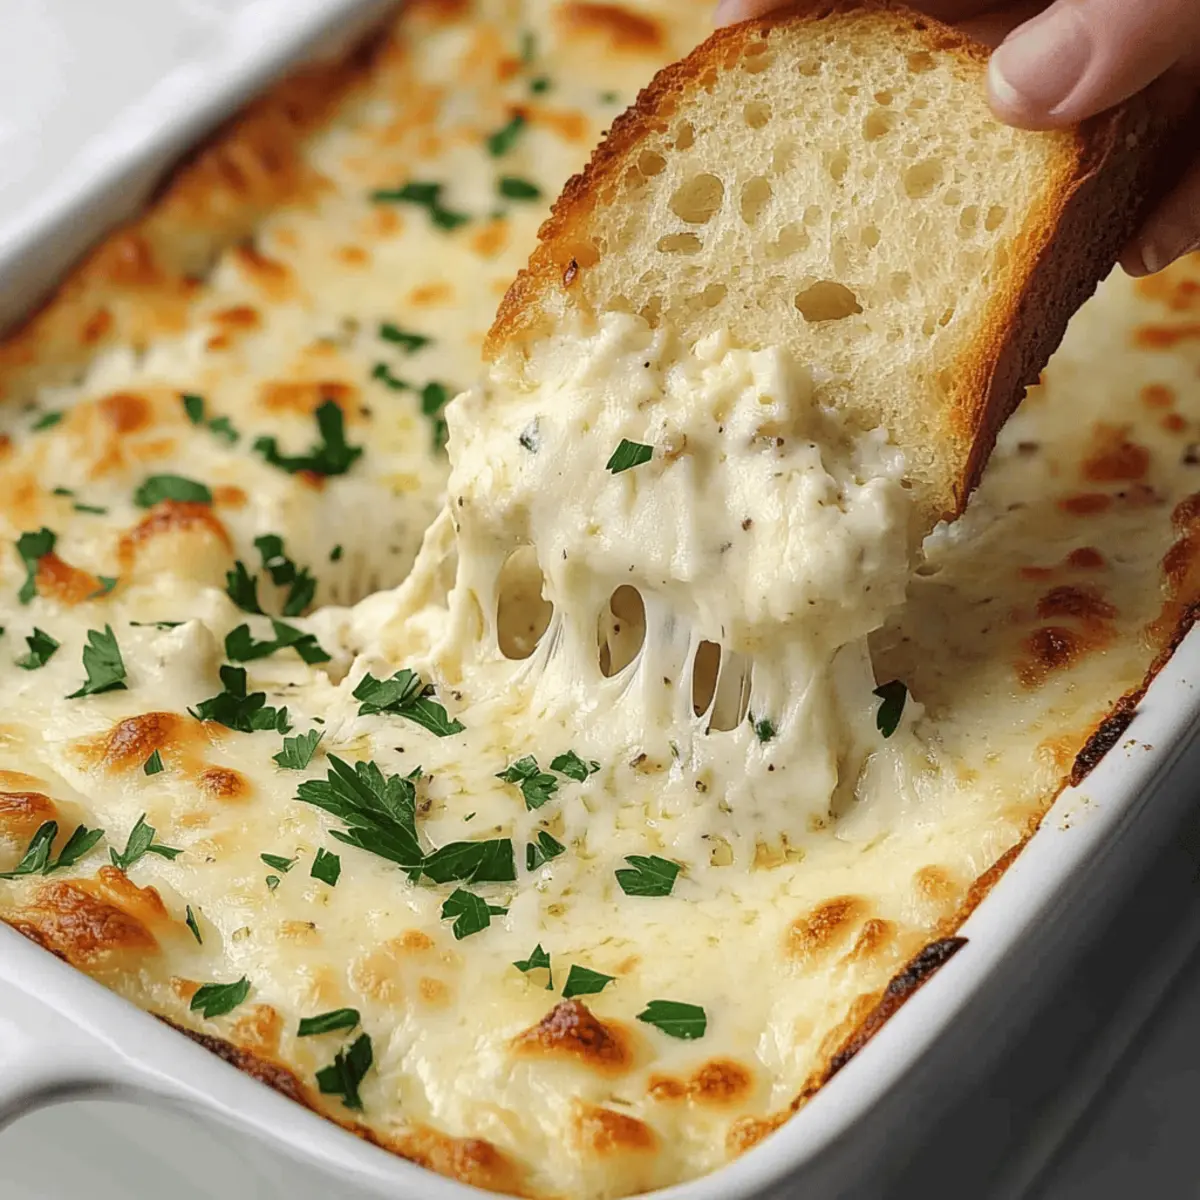
As I sat at a bustling café, the irresistible aroma of roasted garlic wafted through the air, instantly transporting me to my favorite comfort food haven. This Cheesy Garlic Bread Dip brings that beloved café experience to your own kitchen, merging the rich flavors of roasted garlic with a trio of melty cheeses for a dip that’s absolutely to die for. Not only is this appetizer a perfect crowd-pleaser for any gathering, but it’s also quick to prepare—allowing you more time to mingle and savor the joy of good company. With its creamy, velvety texture, this dip transforms the classic garlic bread into an indulgent delight that will have everyone reaching for more. Are you ready to elevate your party spread and impress your guests? Let’s dive into this recipe!

Why You Need This Garlic Bread Dip
Crowd-Pleasing Delight: This dip is bound to impress your guests, making it the star of any party!
Irresistibly Creamy: The combination of cream cheese, sour cream, and roasted garlic creates a lush, velvety texture that’s hard to resist.
Easy to Prepare: With simple ingredients and straightforward instructions, you can whip this dip up in no time, leaving more room for fun!
Versatile Flavor: Pair it with crostini, fresh veggies, or even hearty crackers; it complements a variety of dippers perfectly. Ready to kick your appetizer game up a notch? Try serving it alongside a Whipped Ricotta Dip for a mix of flavors!
Make-Ahead Option: Perfect for busy hosts, you can prepare it in advance and bake right before serving. Your guests will love this tasty twist on classic garlic bread!
Garlic Bread Dip Ingredients
For the Dip
- Roasted Garlic – Adds a mellow, caramelized sweetness that enhances the overall flavor of your garlic bread dip.
- Olive Oil – Helps to keep the roasted garlic moist while adding richness to the dip.
- Cream Cheese – The creamy base of the dip, ensuring a smooth and rich texture that everyone will love.
- Sour Cream – Contributes a delightful tanginess that perfectly balances the flavors in the dip.
- Shredded Mozzarella Cheese – Provides that gooey stretchiness essential to any great dip, making your garlic bread dip truly irresistible.
- Grated Parmesan Cheese – Adds a nutty, salty flavor; mix half in for depth and sprinkle the rest on top for that perfect finish.
- Salt & Pepper – Essential seasonings that elevate and enhance the flavors throughout the dip.
- Fresh Chopped Parsley – A vibrant garnish that adds a pop of color and freshness to your serving dish.
For Serving
- Crostini or Crackers – Perfect for dipping, these options bring that satisfying crunch to contrast the creamy dip.
Step‑by‑Step Instructions for Garlic Bread Dip
Step 1: Roast the Garlic
Preheat your oven to 400°F (204°C). While the oven heats up, remove any excess paper from two heads of garlic and slice off the tops to expose the cloves inside. Drizzle them generously with olive oil, wrap each head in aluminum foil, and place them on a baking sheet. Roast for 40-50 minutes, until the garlic is soft and fragrant, turning golden brown.
Step 2: Prepare the Dip Base
Once the garlic is roasted, lower the oven temperature to 350°F (175°C). Squeeze the roasted garlic from its skins into a mixing bowl and mash it into a paste using a fork. Add cream cheese and sour cream to the bowl, mixing until smooth and well combined. Then fold in shredded mozzarella and half of the grated Parmesan, along with salt and pepper to taste, until you achieve a creamy consistency.
Step 3: Bake the Dip
Transfer the garlic bread dip mixture into a greased baking dish, spreading it evenly. Sprinkle the remaining Parmesan cheese over the top to create a nice crust. Bake in the preheated oven for 25-28 minutes, or until the dip is bubbly and lightly browned around the edges, giving it a deliciously inviting appearance.
Step 4: Garnish and Serve
After baking, allow the dip to cool for about 5 minutes before serving. To finish, sprinkle fresh chopped parsley on top for color and flavor. Serve your warm, gooey garlic bread dip alongside crispy crostini or your favorite crackers for an irresistible appetizer that everyone will love.

Garlic Bread Dip Variations
Feel free to get creative and customize this dip to suit your taste buds!
-
Cheddar Twist: Substitute half the mozzarella with cheddar for a tangy, sharp flavor burst. This simple swap adds a whole new layer to your dip!
-
Greek Yogurt Upgrade: Use Greek yogurt instead of sour cream to enhance the dip’s creaminess while still keeping it light. With a touch of tang, it’s a healthy alternative you’ll adore.
-
Bacon Bliss: Add cooked, crumbled bacon for a savory touch that balances perfectly with the creamy base. This hearty addition will have meat lovers rejoicing!
-
Spicy Kick: Mix in a teaspoon of red pepper flakes or diced jalapeños for a delightful heat. It transforms the dip into a spicy experience that kicks up the flavor!
-
Herbed Delight: Experiment by adding fresh herbs like thyme or basil to the dip before baking. It adds an aromatic garden freshness, making each bite feel like a warm embrace.
-
Creamy Vegan Option: Replace cream cheese and sour cream with cashew cream and nutritional yeast. This keeps your dip creamy and cheesy while remaining plant-based.
-
Seasoned Twist: Enhance flavors by mixing in onion powder or garlic powder for an extra umami boost. The depth of flavor will surprise your guests and leave them wanting more!
Pair this dip with delicious options like Cottage Cheese Bread or Garlic Parmesan Smashed Potatoes for a delightful party spread everyone will enjoy!
Expert Tips for Garlic Bread Dip
- Room Temperature Cheese: Ensure cream cheese is at room temperature for easy blending and a silky texture in your garlic bread dip.
- Proper Roasting: If garlic heads crumble, reassemble them carefully before baking to keep that rich flavor intact.
- Golden Finish: Broil the dip for an additional 1-2 minutes after baking to achieve that golden, bubbly top—keep a close eye to prevent burning!
- Make Ahead: For stress-free entertaining, assemble your garlic bread dip a day in advance and refrigerate; just pop it in the oven when you’re ready to serve.
- Creative Variations: Don’t hesitate to experiment! Substitute cheddar for half the mozzarella or add crumbled bacon for a heartier twist to your dip.
Make Ahead Options
These easy-to-make Garlic Bread Dip can be prepped ahead, saving you time for those busy weeknights or special gatherings! You can prepare the dip mixture up to 48 hours in advance. Simply follow the steps until you transfer the mixture into the baking dish, cover it tightly with plastic wrap, and refrigerate. This helps enhance the flavors while keeping everything fresh and delicious. When you’re ready to serve, preheat your oven to 350°F (175°C), remove the cover, sprinkle the remaining Parmesan cheese on top, and bake for 25-28 minutes until bubbly and golden. Your guests will enjoy this wonderful dip, just as if you prepared it fresh!
What to Serve with Cheesy Garlic Bread Dip
Dive into a world of flavor while elevating your appetizer game with perfectly paired sides for this indulgent dip.
-
Crostini: The classic choice! Their crunchy texture perfectly complements the creamy dip, providing a satisfying crunch that enhances every bite.
-
Fresh Veggies: Crisp carrot sticks, celery, and bell pepper strips add a refreshing crunch and a pop of color, making your spread feel bright and healthy.
-
Mixed Greens Salad: A light salad with a zesty vinaigrette balances the richness of the dip, adding refreshing acidity that cuts through the cheese.
-
Cheese Platter: A selection of cheeses like sharp cheddar and creamy brie brings variety and elegance to your table. Pair with dried fruits or nuts for an inviting charcuterie vibe.
-
Garlic Knots: For true garlic lovers, these soft, buttery bites are perfect for dunking, adding even more depth to the garlicky experience.
-
Whipped Feta Dip: Serve alongside this tangy dip for an irresistible flavor contrast, turning your appetizer spread into something truly unforgettable.
-
Red Wine: A medium-bodied red complements the richness of the cheesy garlic bread dip beautifully, enhancing the overall tasting experience.
-
Chocolate Fondue: For dessert, follow up your savory gathering with a rich chocolate fondue, offering a sweet finish that keeps the good times rolling.
Storage Tips for Garlic Bread Dip
-
Fridge: Store leftover garlic bread dip in an airtight container for up to 3 days. Make sure it’s completely cooled before sealing to keep it fresh.
-
Freezer: For longer storage, this dip can be frozen for up to 2 months. Just be sure to use a freezer-safe container and allow it to cool before freezing.
-
Reheating: To enjoy your dip again, thaw in the fridge overnight if frozen. Reheat in the oven at 350°F (175°C) until warmed through, approximately 20 minutes. Alternatively, microwave in short bursts, stirring in between.
-
Serving Suggestions: Always serve the garlic bread dip warm for the best flavor and texture—a key element to delighting your guests!

Garlic Bread Dip Recipe FAQs
How do I select the perfect garlic for roasting?
Absolutely! For the best roasted garlic, choose heads that are plump and firm with unblemished, dry skins. Avoid any garlic that has dark spots or feels soft, as it may have started to sprout or spoil.
How should I store leftover garlic bread dip?
Leftover garlic bread dip can be stored in an airtight container in the refrigerator for up to 3 days. Be sure to let it cool completely before sealing it, which helps maintain its delightful texture.
Can I freeze garlic bread dip?
Very much so! You can freeze the garlic bread dip for up to 2 months. Simply transfer it to a freezer-safe container, cool it to room temperature, cover tightly, and store. When you’re ready to enjoy it, thaw it overnight in the fridge.
What’s the best way to reheat garlic bread dip?
To reheat frozen dip, thaw it overnight in the fridge first. Then, preheat your oven to 350°F (175°C) and place the dip in an oven-safe dish. Warm it for about 20 minutes or until heated through, stirring halfway. Alternatively, you can microwave it in short bursts, stirring in between, to ensure even warming.
Can I make garlic bread dip ahead of time?
Absolutely! You can prepare the dip up to 2 days in advance. Just assemble it as per the instructions, cover, and store in the refrigerator. When it’s time to serve, just pop it in the oven for baking. This makes hosting stress-free while still delivering a delicious appetizer!
Is this dip safe for people with dietary restrictions?
If you’re concerned about allergies, you can customize the dip to accommodate them. For example, use Greek yogurt instead of sour cream for a tangy, dairy option, or substitute half of the mozzarella with a dairy-free cheese to suit vegan diets. Always double-check ingredient labels for allergens, especially for guests.

Gooey Garlic Bread Dip That Will Wow Your Taste Buds
Ingredients
Equipment
Method
- Preheat your oven to 400°F. Remove excess paper from two heads of garlic, slice off the tops, drizzle with olive oil, wrap in aluminum foil, and place on a baking sheet. Roast for 40-50 minutes.
- Lower oven temperature to 350°F. Squeeze roasted garlic into a mixing bowl, mash into a paste. Add cream cheese and sour cream, mix until smooth. Fold in mozzarella and half Parmesan, salt, and pepper.
- Transfer dip mixture to a greased baking dish. Sprinkle remaining Parmesan on top. Bake for 25-28 minutes until bubbly and lightly browned.
- Allow to cool for 5 minutes. Garnish with chopped parsley and serve warm with crostini or crackers.

Leave a Reply