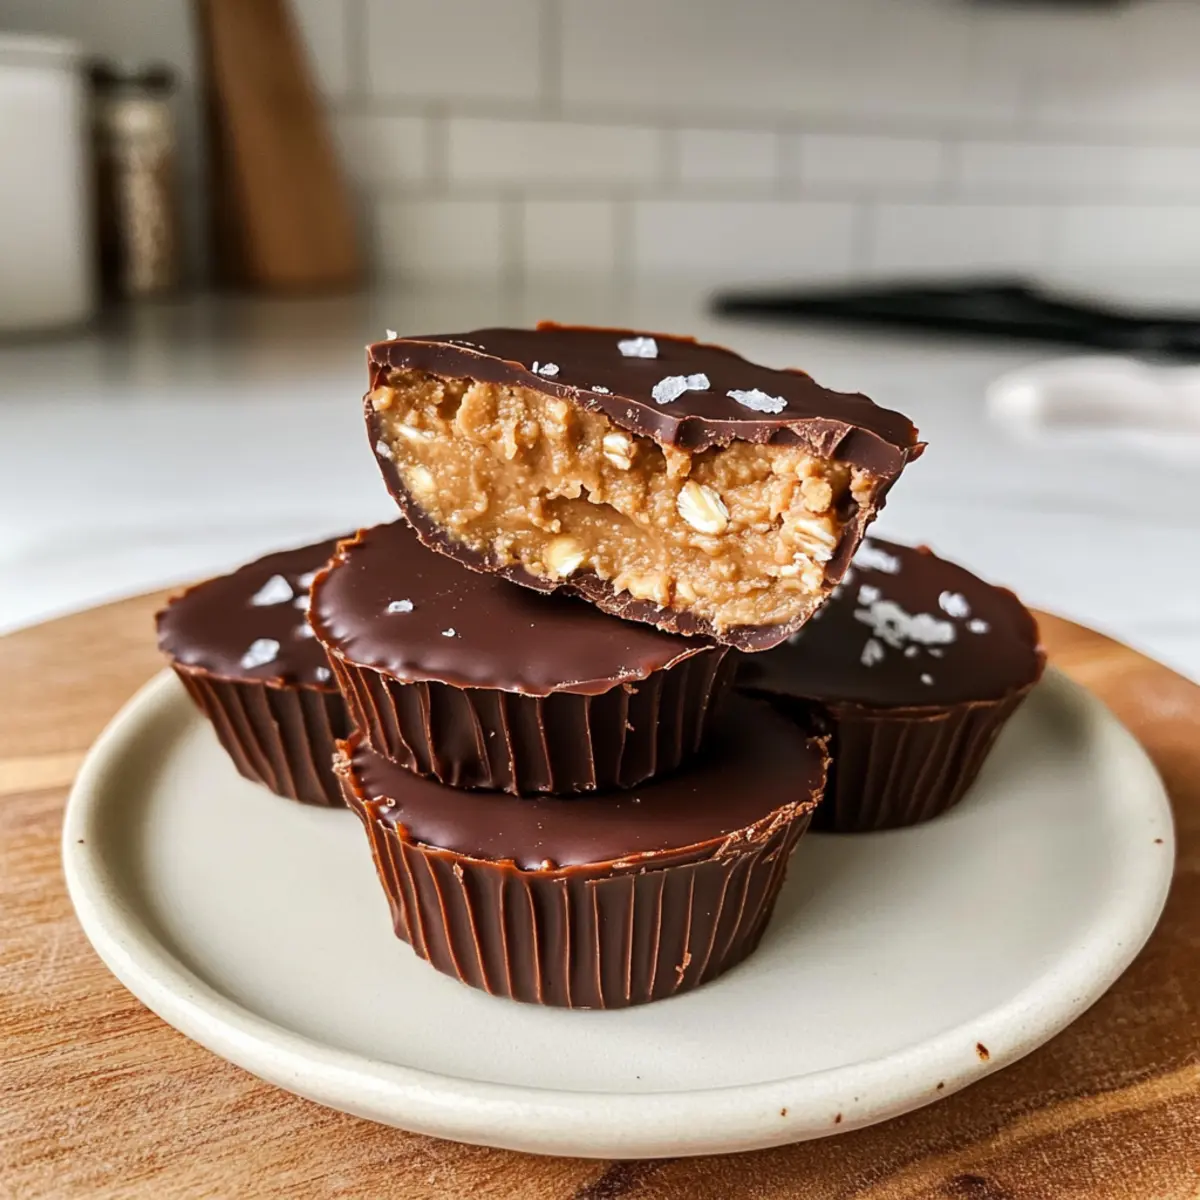
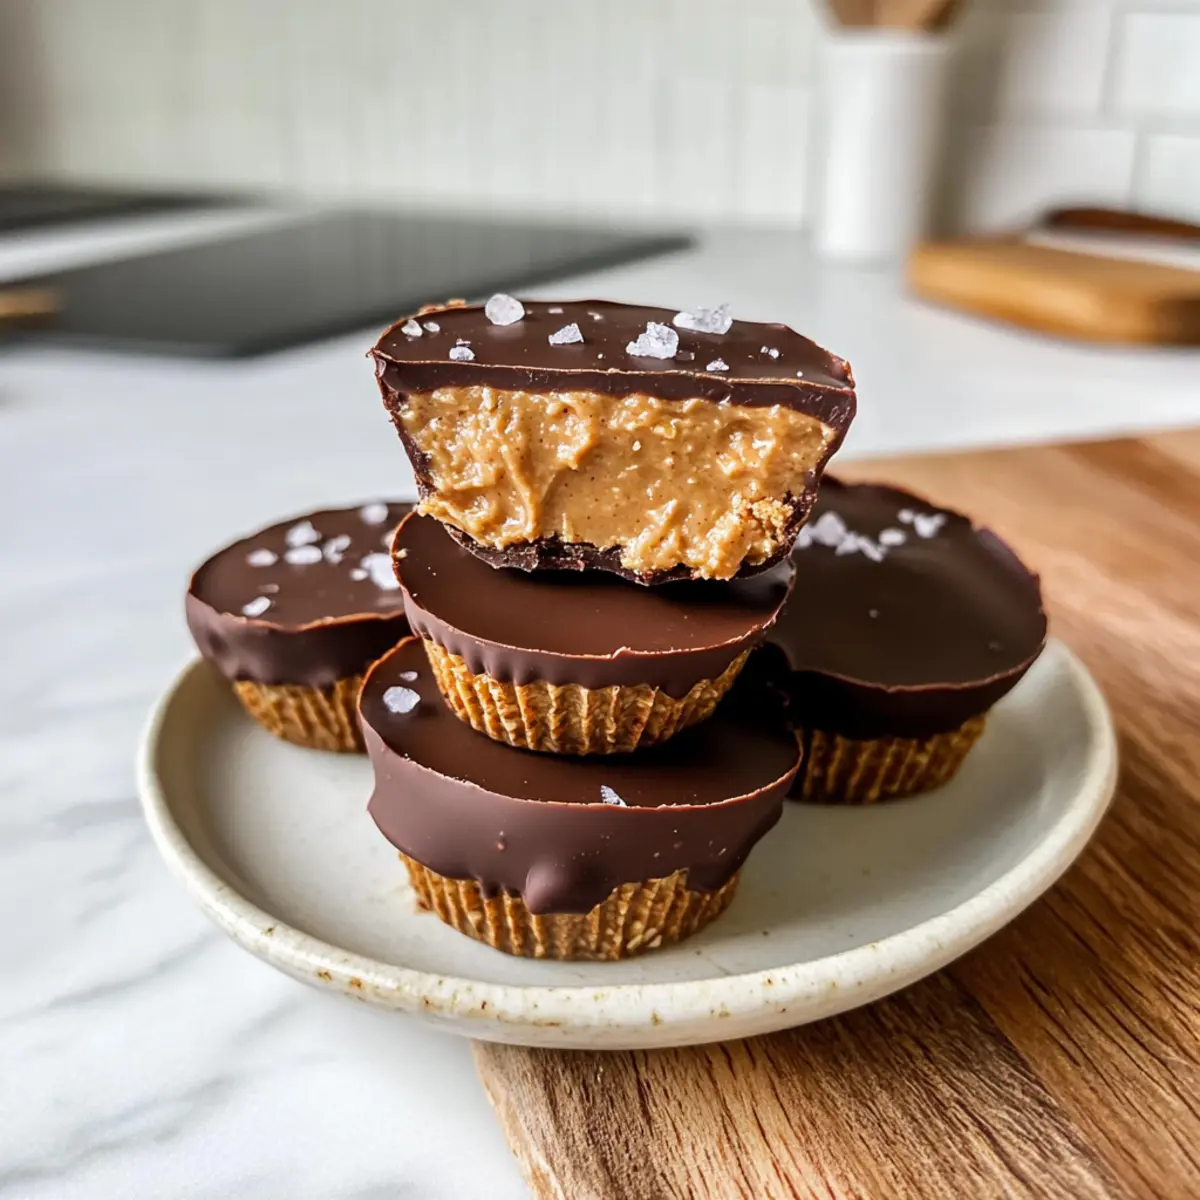
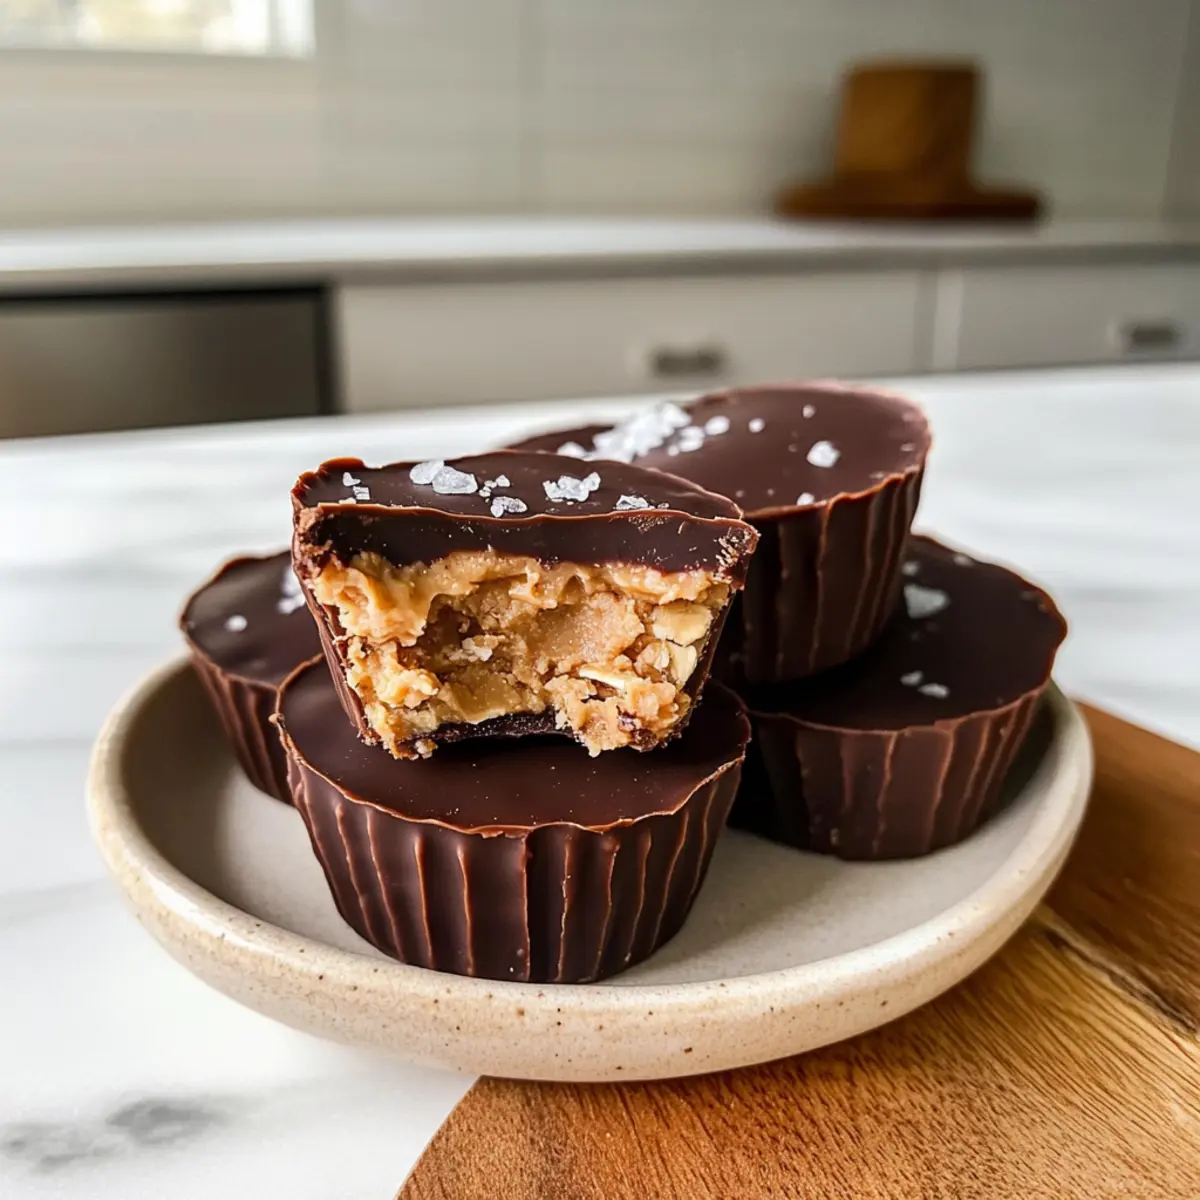
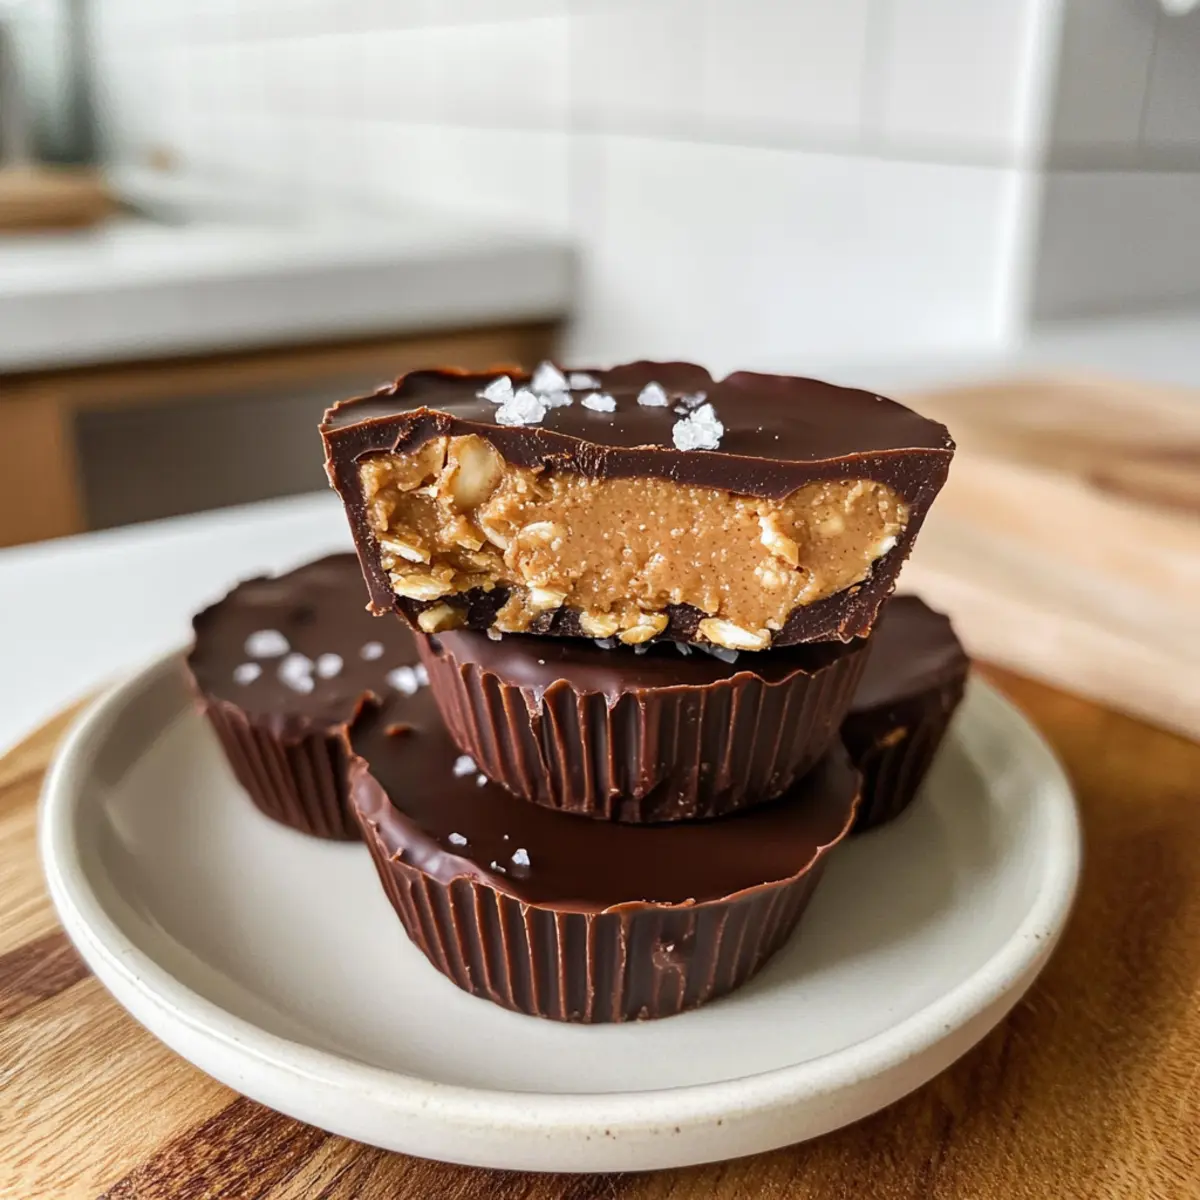
While rummaging through my pantry on a lazy afternoon, I stumbled upon a jar of peanut butter and a pack of rolled oats, and an idea sparked the moment I caught a glimpse of melted dark chocolate in the corner. Discovering this recipe for Peanut Butter Oat Cups was like unearthing a hidden treasure. Not only are these easy no-bake treats gluten-free and vegan, but they come together in under 20 minutes—perfect for busy days or when you’re hit with those late-night cravings! These delightful little cups boast a creamy, chewy texture that rivals even the most decadent desserts, all while keeping those health goals in mind. Curious about how to whip up these playful yet nutritious treats? Let’s dive in!

Why are Peanut Butter Oat Cups a Must-Try?
Quick and Easy: This no-bake recipe comes together in just 20 minutes, making it a breeze for your busy schedule.
Nutritious Ingredients: Packed with wholesome oats and creamy peanut butter, these treats satisfy both your sweet tooth and your health goals.
Vegan & Gluten-Free: With simple, accessible ingredients, anyone can enjoy these delightful cups—no dietary restrictions needed!
Endless Customization: Feel free to swap maple syrup for honey, or mix in protein powder for a boost; the possibilities are endless.
Crowd-Pleasing Snack: Perfect for sharing, whether at a party or with family—everyone will love the delicious chocolatey touch!
For an alternative treat, check out Peanut Butter Mousse or for a savory option, explore Thai Peanut Chicken. These delightful recipes will also satisfy your craving for something wholesome and tasty!
Peanut Butter Oat Cups Ingredients
• For the Base
- Peanut Butter – Brings creamy richness; you can substitute with almond or sunflower seed butter for a nut-free option.
- Rolled Oats – Forms the structural base; opt for certified gluten-free oats to keep these Peanut Butter Oat Cups gluten-free.
- Maple Syrup – Sweetens and binds the mixture; honey or agave syrup works well as alternatives too.
• For the Topping
- Chocolate Chips – Provides a rich, indulgent topping; ensure to use dairy-free chocolate to maintain the vegan status.
- Flakey Sea Salt – Optional, but enhances flavor and adds that perfect sweet-salty touch when sprinkled on top.
Get ready to create a delicious and nutritious treat with these Peanut Butter Oat Cups!
Step‑by‑Step Instructions for Peanut Butter Oat Cups
Step 1: Mix Peanut Butter and Maple Syrup
In a medium bowl, combine 1 cup of creamy peanut butter with 1/3 cup of maple syrup. Stir vigorously until the mixture is smooth and well-blended, about 1-2 minutes. This creamy base serves as the heart of your Peanut Butter Oat Cups, providing both flavor and sweetness.
Step 2: Incorporate the Rolled Oats
Add 2 cups of rolled oats to the peanut butter mixture, gently folding them in with a spatula until fully incorporated. The oats should be evenly distributed, creating a thick, sticky mixture that holds together well. This step will take around 2 minutes and is essential for the structure of your cups.
Step 3: Prepare the Molds
Evenly distribute the oat mixture into silicone molds, using about 2 tablespoons per cup. Press the mixture down firmly with the back of a spoon or a cookie scoop, ensuring it’s compacted and holds its shape. This step should take about 5 minutes; your cups will form the delicious base of the Peanut Butter Oat Cups.
Step 4: Freeze the Oat Base
Once you’ve filled the molds, place them in the freezer and chill for 20 minutes. This will help the oats firm up, making it easier to add the topping later. While you wait, the mixture will take on a slightly firmer texture, ideal for your lovely treats!
Step 5: Melt the Chocolate
While the oat bases chill, place 1 cup of chocolate chips in a microwave-safe bowl, adding a splash of oil to help with consistency. Melt the chocolate in the microwave in 30-second increments, stirring after each round, until smooth and completely melted—this should take around 1-2 minutes.
Step 6: Top with Chocolate
Remove the oat cups from the freezer once the bases are firm. Drizzle or pour the melted chocolate evenly over each cup, ensuring they are generously coated. Return the cups to the freezer for an additional 20 minutes, allowing the chocolate to set beautifully on your Peanut Butter Oat Cups.
Step 7: Final Touches and Serve
After the second freeze, gently pop the Peanut Butter Oat Cups out of the molds. If desired, sprinkle a pinch of flakey sea salt on top for that perfect sweet and salty contrast. These delightful treats are now ready to enjoy, whether as a snack or a quick dessert!

What to Serve with Peanut Butter Oat Cups
These delightful no-bake treats are perfect for pairing in a fun, wholesome meal or snack time.
-
Fresh Fruit: Sliced bananas or berries offer a refreshing contrast, balancing the creaminess of the oat cups with vibrant sweetness.
-
Coconut Yogurt: A scoop of dairy-free yogurt enhances the creamy indulgence and adds a tropical twist—especially if you sprinkle some coconut on top!
-
Nutty Granola: Crunchy granola adds a delightful textural contrast and can be sprinkled over the oat cups, elevating their crunch factor.
-
Chocolate Almond Milk: Pair your oat cups with a glass of sweetened chocolate almond milk for an indulgent dose of deliciousness that complements the peanut flavor.
-
Herbal Tea: A warm cup of soothing chamomile helps calm post-snack cravings, creating a perfect balance to your sweet treats.
-
Coffee or Espresso: Enjoying a rich cup of coffee alongside your oat cups amplifies those nutty flavors with some delightful roasted notes, perfect for an afternoon pick-me-up!
-
Homemade Trail Mix: Whip up a quick trail mix with nuts and dried fruits for a healthy snack that offers a delightful mix of flavors and textures alongside your oat cups.
Enjoying these pairings will transform your Peanut Butter Oat Cups into a full-fledged snacking experience!
Peanut Butter Oat Cups Variations & Substitutions
Feel free to let your creativity shine and customize these delightful Peanut Butter Oat Cups to suit your taste or dietary needs.
-
Nut-Free: Substitute peanut butter with sunflower seed butter for a delicious, nut-free alternative that retains the creamy goodness.
-
Gluten-Free: Ensure you use certified gluten-free oats if you’re making these for someone with dietary restrictions. It’s a simple swap that keeps everyone happy!
-
Sweetener Swap: Try replacing maple syrup with agave syrup; it offers a milder sweetness that’s perfect for those sensitive to stronger flavors.
-
Add-Ins: Mix in some chocolate protein powder into the oat mixture for an extra protein punch that makes them even more satisfying.
-
Texture Twist: For a delightful crunch, sprinkle chopped nuts or seeds on top of the melted chocolate before it sets. This adds a lovely texture while enhancing the nutty flavor.
-
Flavor Boost: Add a teaspoon of vanilla extract or a pinch of cinnamon to the peanut butter mixture for an aromatic touch that elevates the taste.
-
Delicious Toppings: Instead of chocolate chips, consider using dried fruit like cranberries or raisins for a fruity twist, giving a whole new flavor profile to your cups.
-
Coconut Lover’s Dream: Incorporate shredded coconut into the oat mixture or sprinkle on top of the chocolate for a tropical flair that complements the peanut butter beautifully.
If you love the richness of chocolate, don’t forget to try my delicious Peanut Butter Mousse for a delightful treat or savor the unique flavors in these Cheeseburger Rollups for a savory experience!
Expert Tips for Peanut Butter Oat Cups
-
Key Ingredient Quality: Use high-quality, natural peanut butter for the best flavor. Avoid overly runny peanut butter, as it may affect the texture of your Peanut Butter Oat Cups.
-
Mold Matters: Silicone molds make removing your cups easy and prevent sticking. If using paper liners, ensure they are lined well to avoid tearing.
-
Stir Gradually: When melting chocolate, do it in short increments and stir often to achieve a smooth and creamy consistency, preventing scorching.
-
Chill Time Accuracy: Allow the oat mixture to freeze adequately—20 minutes is ideal. If not firm enough, they may crumble when you add the chocolate.
-
Flavor Enhancers: Consider adding a touch of vanilla extract or a sprinkle of cinnamon to the mixture for an added layer of flavor that complements the Peanut Butter Oat Cups.
How to Store and Freeze Peanut Butter Oat Cups
Fridge: Keep your Peanut Butter Oat Cups in an airtight container to enjoy fresh for up to 1 week. This helps maintain their chewy texture while keeping them deliciously indulgent.
Freezer: For longer storage, freeze the oat cups in a single layer on a baking sheet for 1-2 hours. Once firm, transfer them to a sealed container or freezer bag; they’ll last up to 3 months.
Thawing: When ready to enjoy, simply remove the desired number from the freezer and let them soften at room temperature for about 10-15 minutes, or warm in the microwave for a few seconds.
Reheating: If you prefer a warm treat, microwave each cup for about 10-15 seconds; this will slightly melt the chocolate and enhance the creamy experience.
Make Ahead Options
These Peanut Butter Oat Cups are perfect for meal prep, allowing you to have satisfying snacks on hand without the last-minute rush! You can prepare the oat base up to 3 days in advance. Simply follow Steps 1 through 4 and freeze them until solid. Once frozen, you can store the cups individually in an airtight container in the freezer for optimal freshness. When you’re ready to serve, melt the chocolate and top the cups just before enjoying—this ensures the chocolate stays smooth and vibrant. By prepping ahead, you save valuable time on busy weeknights, making these delicious treats just as convenient as they are delectable!

Peanut Butter Oat Cups Recipe FAQs
How do I select the right peanut butter for my Peanut Butter Oat Cups?
Absolutely! When choosing peanut butter, opt for a natural, creamy variety without added sugars or oils. Check the label for minimal ingredients—pure peanuts and a dash of salt are ideal. If you’re looking for a nut-free alternative, almond or sunflower seed butter work wonderfully, too!
How should I store my Peanut Butter Oat Cups?
You can store your Peanut Butter Oat Cups in an airtight container in the refrigerator for up to 1 week. This keeps them fresh and chewy. If you want to enjoy them longer, freezing is a great option. Simply freeze them in a single layer for 1-2 hours, then transfer them to a sealed container or freezer bag for up to 3 months.
Can I freeze Peanut Butter Oat Cups? How do I do it properly?
Yes, you absolutely can! To freeze your Peanut Butter Oat Cups, first, place them on a baking sheet in a single layer to prevent sticking. After about 1-2 hours, when they are firm, transfer them into a freezer-safe bag or container. Make sure to seal it well to protect against freezer burn. When ready to enjoy, thaw them at room temperature for about 10-15 minutes or microwave briefly for a soft treat!
What should I do if my chocolate is not melting properly?
Very good question! If you encounter issues while melting your chocolate, it may be due to overheating. Always melt chocolate in the microwave using short bursts of 30 seconds, checking and stirring in between. If it becomes too thick or starts to scorch, it may be ruined. Always add a splash of oil to help create a smooth consistency and prevent sticking.
Are Peanut Butter Oat Cups safe for individuals with nut allergies?
For sure! While the traditional recipe features peanut butter, you can easily modify it to accommodate nut allergies by using sunflower seed butter instead. It provides that creamy richness without the risk of nut allergies while maintaining the delicious flavor of the treats. Always double-check slow food and ingredient labels for cross-contamination.
Can I make substitutions in my Peanut Butter Oat Cups?
The more the merrier! This recipe is quite flexible. You can swap the maple syrup for honey or agave syrup, depending on your preferences. Additionally, feel free to add extras like protein powder, chia seeds, or shredded coconut to boost the nutrient content. Enjoy customizing your cups!

Peanut Butter Oat Cups for Quick, Guilt-Free Snacking
Ingredients
Equipment
Method
- In a medium bowl, combine 1 cup of creamy peanut butter with 1/3 cup of maple syrup. Stir vigorously until smooth.
- Add 2 cups of rolled oats to the peanut butter mixture, gently folding them in until fully incorporated.
- Evenly distribute the oat mixture into silicone molds, using about 2 tablespoons per cup.
- Place the molds in the freezer and chill for 20 minutes.
- Melt 1 cup of chocolate chips in a microwave-safe bowl, adding a splash of oil to help with consistency.
- Drizzle or pour the melted chocolate evenly over each cup, returning to the freezer for an additional 20 minutes.
- Gently pop the cups out of the molds. If desired, sprinkle with flakey sea salt before serving.

Leave a Reply