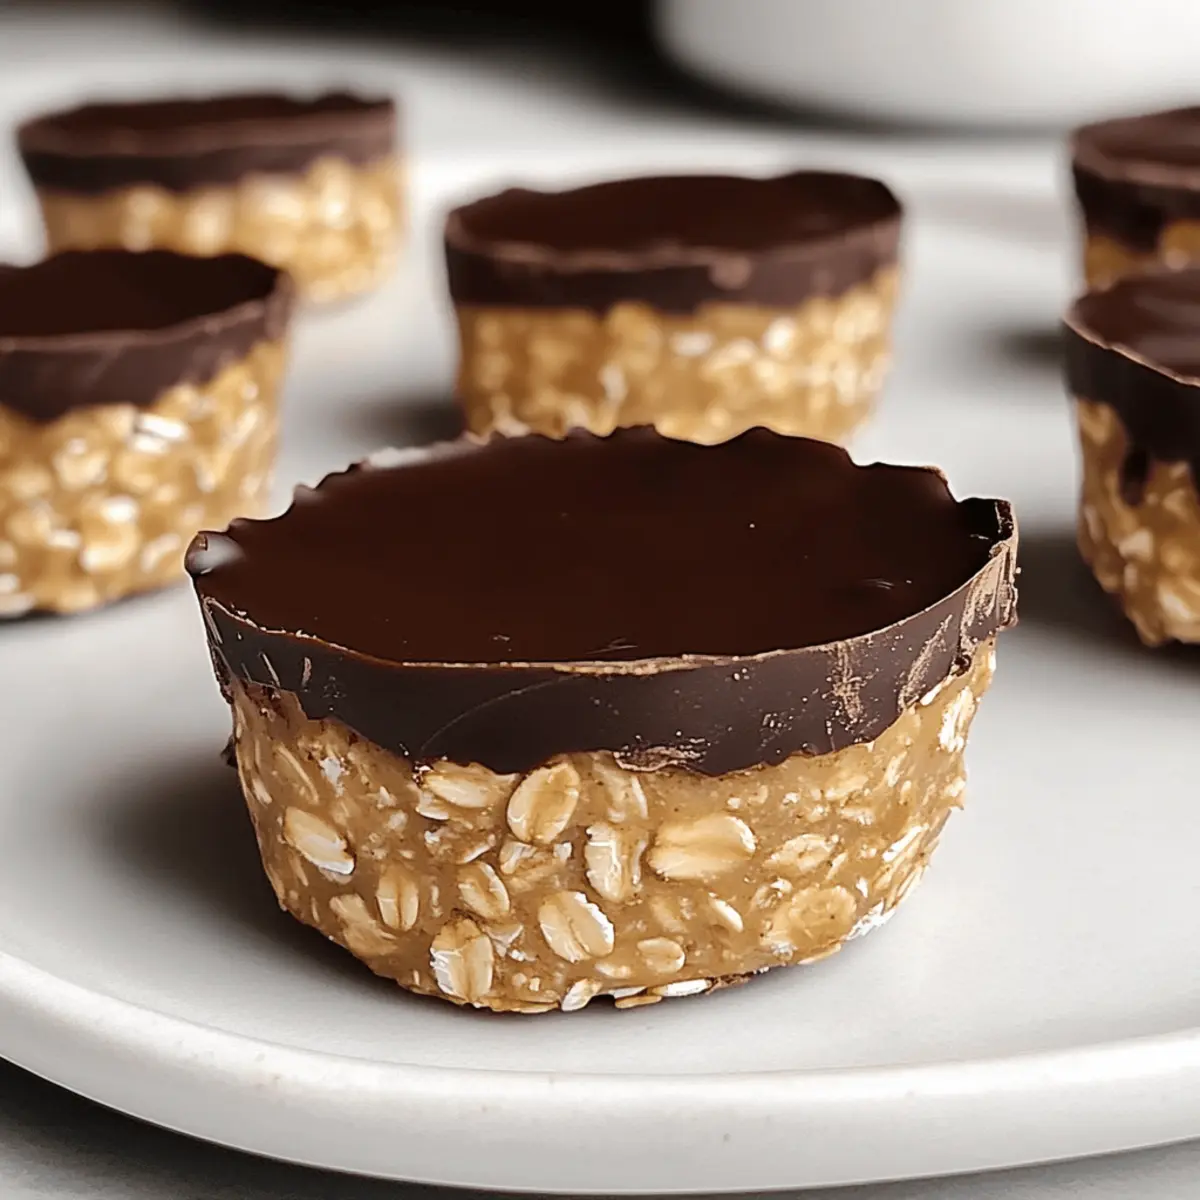
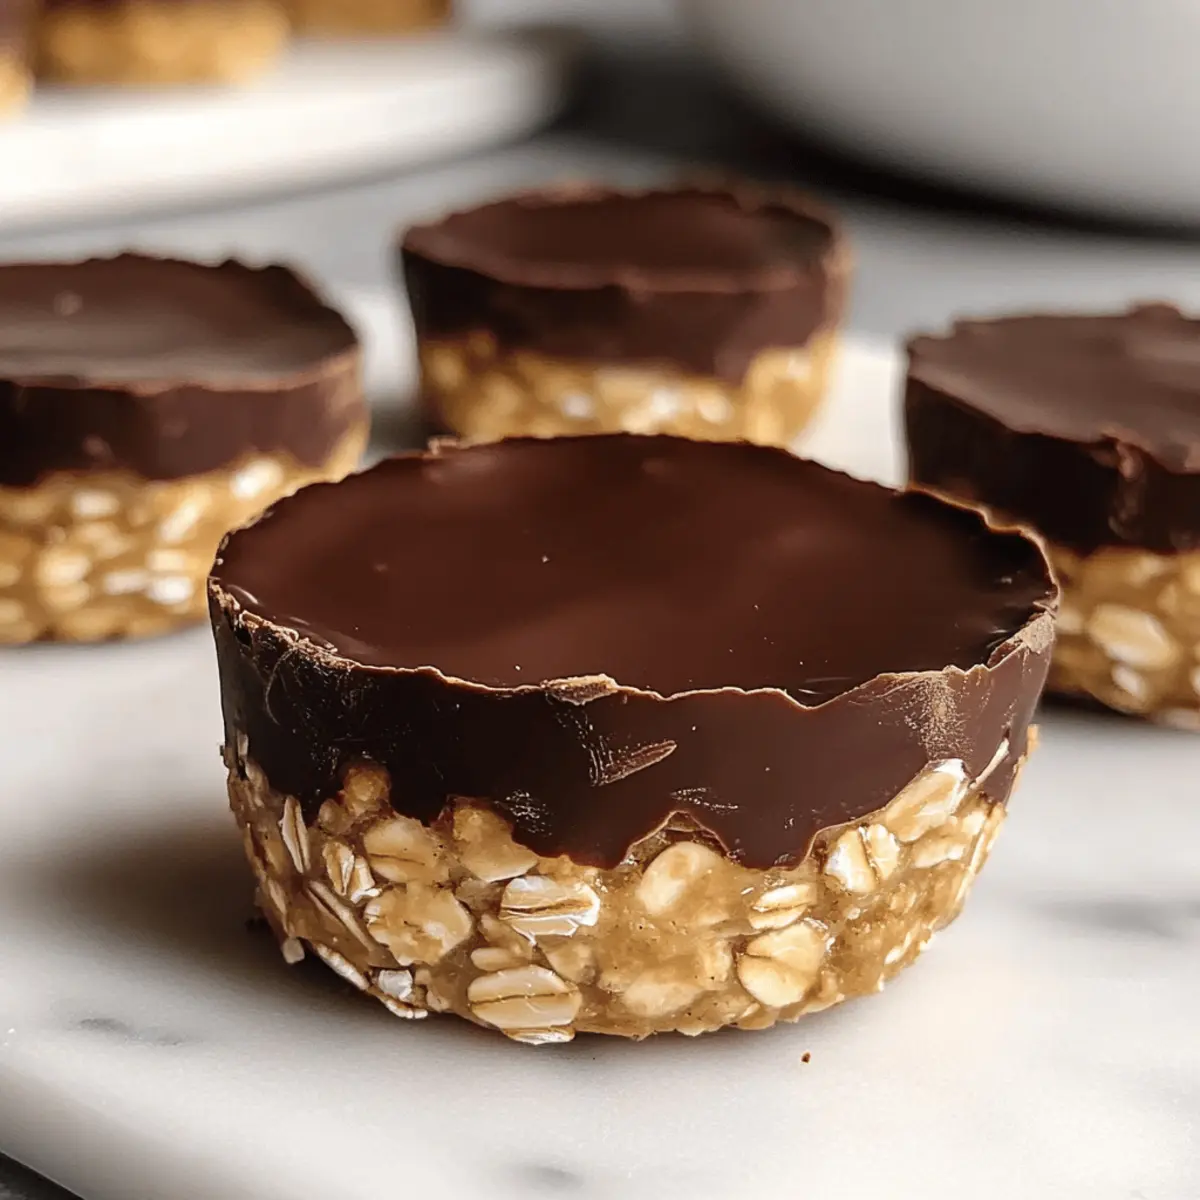
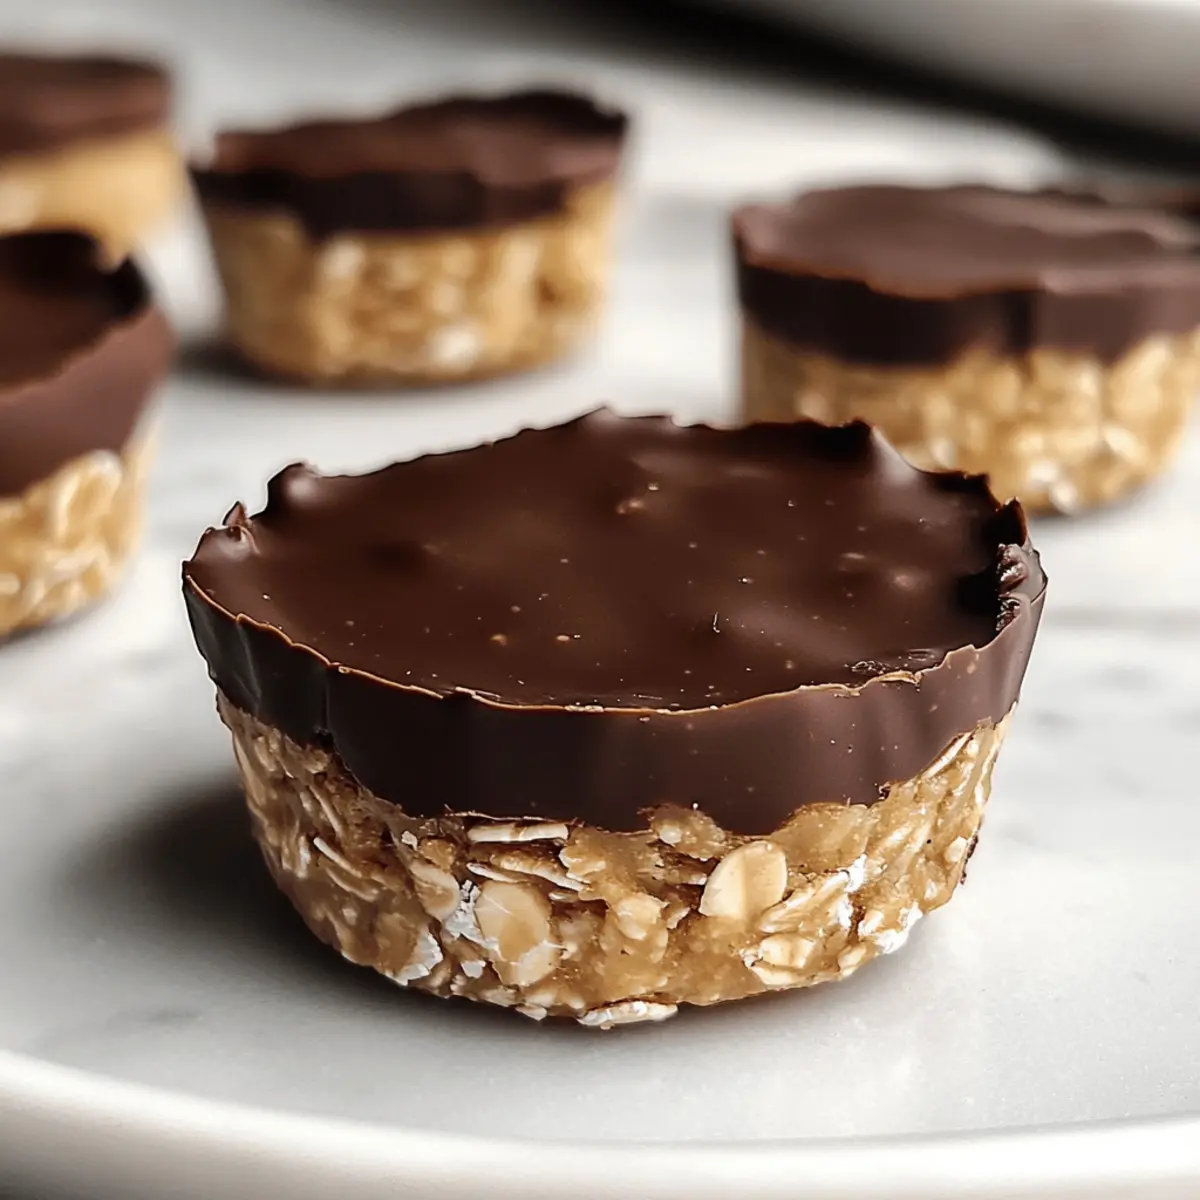
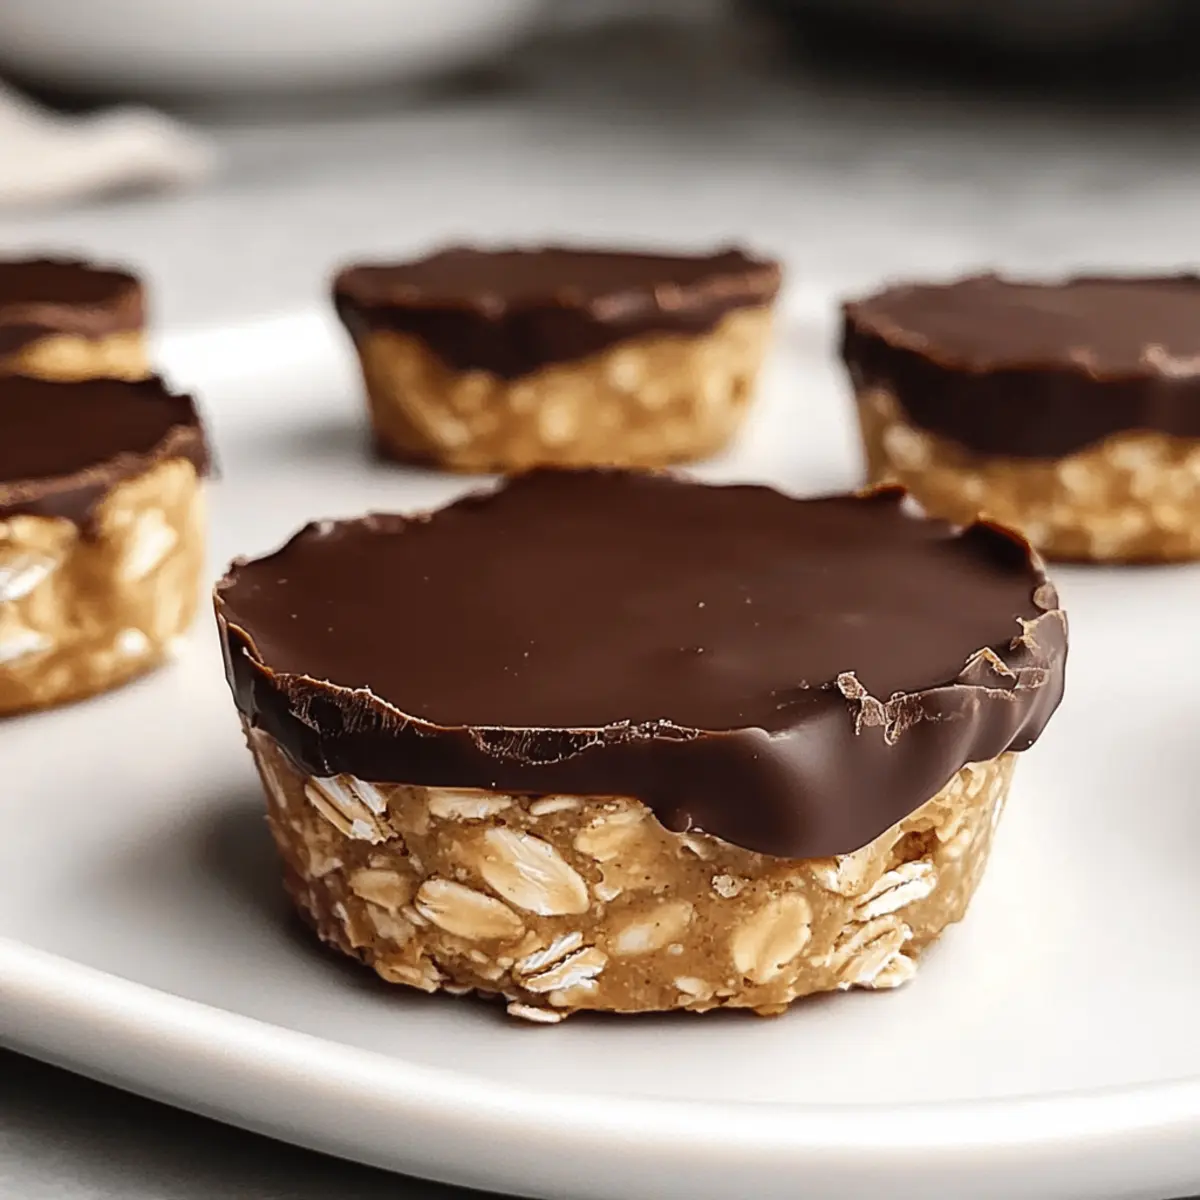
As I stood in my kitchen, the sweet and nutty aroma of peanut butter wafting through the air, I felt a wave of joy wash over me. It’s amazing how just a few simple ingredients can transform into something so delightful. These Easy No-Bake Peanut Butter Oat Cups are not only quick to whip up but also a healthier alternative to sugary snacks. With chewy oats and a rich chocolate drizzle, they make the perfect treat for any time of day, whether you need a quick snack or a satisfying dessert. Plus, they’re a crowd-pleaser, ideal for sharing with friends or enjoying on your own! Ready to dive into the world of no-bake goodness? Let’s get crafting these tasty morsels together!

Why Are No-Bake Cups a Must-Try?
Convenience is at the heart of these delightful cups. They require no baking, making them perfect for anyone who craves a tasty snack without the hassle. Healthy Ingredients ensure you can enjoy a guilt-free treat, packed with protein and wholesome oats. Versatility allows you to customize with your favorite nut butter or mix-ins, and crowd-pleaser status means they’ll be a hit at any gathering. If you’re looking for more sweet ideas, why not explore our delicious Peanut Butter Mousse or treat yourself to some No Bake Buckeye Graham? You’ll be amazed at how easy and satisfying these No-Bake Peanut Butter Oat Cups are!
No Bake Peanut Butter Oat Cups Ingredients
Prepare to create these delicious no bake peanut butter oat cups with this simple ingredient list!
For the Base
- Rolled Oats – Provides the structure; do not substitute with quick oats for best texture.
- Natural Peanut Butter – Adds creaminess and flavor; ensure it’s well-stirred smooth for the best results.
- Honey – Binds everything together and adds natural sweetness; adjust the amount if the mix is too dry or wet.
- Vanilla Extract – Elevates the flavor profile; optional but highly recommended for a delightful aroma.
For the Topping
- Chocolate Chips – Brings a sweet topping that everyone loves; use semi-sweet or dark chocolate based on your preference.
- Coconut Oil – Helps the chocolate melt smoothly; while optional, it improves the texture of melted chocolate.
For Garnish
- Sea Salt – An optional sprinkle enhances the flavor contrast; adds a delightful finishing touch to the chocolate.
With these wholesome ingredients, you’re well on your way to enjoying delicious no bake peanut butter oat cups!
Step‑by‑Step Instructions for No Bake Peanut Butter Oat Cups
Step 1: Mix the Base Ingredients
In a medium bowl, combine 2 cups of rolled oats, ¾ cup of natural peanut butter, ½ cup of honey, and 1 teaspoon of vanilla extract. Use a sturdy spatula to mix until the oats are well-coated and the ingredients are fully combined. The mixture should be sticky yet cohesive, allowing you to easily form it into cups.
Step 2: Prepare the Muffin Tin
Lightly spray a muffin tin with nonstick cooking spray to ensure easy removal later. If you prefer, you can also line the cups with parchment paper to further prevent sticking. Setting up your muffin tin now will save you time later when you fill it with the oat mixture.
Step 3: Fill the Muffin Cups
Scoop the oat mixture into the prepared muffin tin, filling each cup about ¾ full. Use your fingers or the back of a spoon to firmly press the mixture down into each cup, creating a solid base. Ensure an even distribution so that each cup holds its shape once set and resembles a thick granola bite.
Step 4: Melt the Chocolate
In a microwave-safe bowl, combine 1 cup of chocolate chips and 1 tablespoon of coconut oil. Heat the mixture in the microwave in 20-second intervals, stirring after each interval until smooth. Be cautious not to overheat the chocolate; it should have a glossy finish and flow easily when spooned over the oat cups.
Step 5: Top with Chocolate
Once the chocolate is melted and smooth, carefully spoon it over each oat cup, spreading it into an even layer with the back of the spoon. Allow the chocolate to cover the tops generously. This rich layer not only adds a sweet finish but also enhances the overall indulgence of your No Bake Peanut Butter Oat Cups.
Step 6: Add Sea Salt (Optional)
If desired, sprinkle a light pinch of sea salt over the melted chocolate before it sets. This optional step introduces a delightful contrast that enhances the sweetness of the chocolate, making your No Bake Peanut Butter Oat Cups an even more satisfying treat.
Step 7: Freeze to Set
Place the muffin tin in the freezer and let the cups chill for at least 1 hour. This will allow the chocolate to harden completely and help the oat cups hold their shape. Keep an eye on them, as you’ll want the chocolate to be just firm enough to not melt upon serving.
Step 8: Remove and Serve
After the cups have set, gently remove them from the muffin tin, either by pushing from the bottom or pulling from the sides. You can serve them immediately or store them in an airtight container. If you choose to store them, consider layering parchment paper between cups to prevent sticking.

How to Store and Freeze No Bake Peanut Butter Oat Cups
Fridge: Keep your No Bake Peanut Butter Oat Cups in an airtight container; they will stay fresh for up to 2 weeks, making snacking easy!
Freezer: For longer storage, freeze the oat cups in single layers, separated by parchment paper, for up to 3 months. Perfect for a cool treat on a hot day.
Thawing: When you’re ready to enjoy a frozen cup, simply move it to the fridge to thaw for about 30 minutes, or enjoy it right from the freezer for an extra crunchy bite.
Reheating: These cups are best served cold, but if you prefer to warm them up slightly, do so in the microwave at low power for about 10 seconds—just enough to soften without melting the chocolate.
Expert Tips for No Bake Peanut Butter Oat Cups
• Consistency Check: Ensure your mixture is sticky yet holds together; add more honey if too dry or oats if too wet to avoid crumbles.
• Chocolate Melting: Melt chocolate in short intervals, stirring frequently to prevent overheating and seizing. Aim for a smooth consistency.
• Chilling Time: For best results, allow the No Bake Peanut Butter Oat Cups to chill in the fridge for at least 2 hours before serving; they firm up beautifully!
• Storage Smart: Layer parchment paper between cups when storing in an airtight container to prevent sticking and ensure easy serving.
• Flavor Twists: Experiment with different nut butters, or mix in your favorite dried fruits or nuts to customize the flavor and texture of your cups.
Make Ahead Options
These Easy No-Bake Peanut Butter Oat Cups are perfect for meal prep warriors seeking to simplify their week! You can prepare the oat mixture up to 24 hours in advance. Simply combine the rolled oats, peanut butter, honey, and vanilla as instructed, then press it into the muffin tin, cover it tightly with plastic wrap, and refrigerate. Don’t forget to melt the chocolate and top the cups just before serving to ensure that they stay fresh and delicious (the chocolate retains its best texture when added last). If stored properly in an airtight container, these cups can last up to 2 weeks in the refrigerator, making them a fantastic grab-and-go snack for busy days!
No Bake Peanut Butter Oat Cups Variations
Embrace your culinary creativity and customize these delightful treats to suit your taste buds!
-
Nut-Free: Swap in sunflower seed butter to create a delicious nut-free version without sacrificing creaminess.
-
Sweetness Adjustments: Use maple syrup instead of honey for a different flavor profile; it adds a lovely warm sweetness to your cups.
-
Add Texture: Toss in mini chocolate chips or dried fruits like cranberries or raisins for bursts of flavor and chewy texture.
-
For a Crunchy Twist: Top your cups with crushed nuts or pretzels for a sweet and salty surprise – they’ll add a satisfying crunch that everyone will love!
-
Flavor Boost: Infuse your mixture with cinnamon or cocoa powder for an aromatic twist; just a teaspoon can elevate the flavor dramatically.
-
Protein-Packed: Stir in protein powder to enhance the nutritional value; this will transform your cups into a healthy post-workout snack.
-
Low-Sugar Option: Use a sugar substitute like stevia in place of honey to keep things sweet while reducing calories.
If you’re on the lookout for more peanut butter inspirations, don’t forget to try our delicious Thai Peanut Chicken or indulge in the rich flavors of Chicken Satay with Peanut Sauce—the possibilities are endless!
What to Serve with Easy No-Bake Peanut Butter Oat Cups
Delight in the flavors of wholesome treats as you create a balanced meal around these simple no-bake wonders.
- Fresh Fruit: A medley of strawberries, bananas, or apples adds vibrant color and a refreshing bite, enhancing the nutty flavors beautifully.
- Greek Yogurt: Creamy yogurt serves as a perfect dip or side, offering a protein boost that complements the snack’s sweetness.
- Nutty Granola: Serve alongside a crunchy granola for a satisfying texture contrast, making every bite a delightful experience.
- Smoothies: A luscious banana or berry smoothie pairs well, delivering a fresh taste while keeping the snack healthy and filling.
- Coffee or Tea: Enjoy with a warm cup of coffee or herbal tea, balancing flavors and soothing your palate with every bite.
- Milk: A classic choice, served alongside a glass of milk—whether dairy or plant-based—makes every bite extra comforting.
- Dark Chocolate: For those craving something sweet, a few pieces of dark chocolate provide an indulgent touch that complements the oat cups perfectly.
- Cheese Platter: Pair with sharp cheese slices for an unexpected savory contrast that heightens the overall flavor experience in a surprising way.
Your no-bake peanut butter oat cups shine when served with these delightful accompaniments, transforming a simple snack into a memorable treat!

No Bake Peanut Butter Oat Cups Recipe FAQs
What type of oats should I use for No Bake Peanut Butter Oat Cups?
Use rolled oats as they provide the best texture and structure. Quick oats will not yield the same chewy consistency and can lead to a crumbly texture in the final product. Always ensure your oats are fresh for optimal flavor!
How should I store No Bake Peanut Butter Oat Cups?
Store your No Bake Peanut Butter Oat Cups in an airtight container in the fridge for up to 2 weeks. This simple approach keeps them fresh and ready for snacking! If you prefer longer-term storage, place them in the freezer for up to 3 months.
Can I freeze my No Bake Peanut Butter Oat Cups? How do I do it?
Absolutely! To freeze, place the oat cups in a single layer on a parchment-lined baking sheet. Freeze them until solid, then transfer to an airtight container, layering parchment paper between cups to prevent sticking. They will stay fresh for up to 3 months. Thaw in the fridge for about 30 minutes before enjoying—or savor them straight from the freezer for a cool treat!
What if my peanut butter mixture is too dry or too wet?
If your mixture feels too dry, try adding a bit more honey gradually until it reaches a sticky consistency that holds together well. On the other hand, if it’s too wet and won’t form a solid shape, add a bit more rolled oats to balance it out. Achieving the right texture is key for a successful outcome!
Are No Bake Peanut Butter Oat Cups suitable for dietary restrictions?
These cups can be easily adapted! They are naturally gluten-free if you use certified gluten-free oats, and you can substitute almond butter or sunbutter for a nut-free option. Just watch for any allergies as the recipe contains peanuts and honey. Always double-check labels to ensure your ingredients fit your dietary needs.
Is there a way to make these No Bake Peanut Butter Oat Cups more indulgent?
Absolutely! You can enhance their flavor by adding mix-ins like mini chocolate chips, dried fruits, or even nuts. Topping them with crushed pretzels introduces a delightful sweet-and-salty combination! Feel free to experiment with your favorite ingredients to create a version that you’ll truly love!

Delicious No Bake Peanut Butter Oat Cups You’ll Love
Ingredients
Equipment
Method
- In a medium bowl, combine rolled oats, natural peanut butter, honey, and vanilla extract. Mix until well-coated.
- Lightly spray a muffin tin with nonstick cooking spray or line with parchment paper.
- Scoop the oat mixture into the muffin tin, filling each cup about ¾ full and pressing down firmly.
- In a microwave-safe bowl, combine chocolate chips and coconut oil. Heat in 20-second intervals until smooth.
- Spoon melted chocolate over each oat cup, spreading into an even layer.
- Optional: Sprinkle sea salt over chocolate before it sets.
- Place the muffin tin in the freezer for at least 1 hour to set.
- Once set, remove cups from the muffin tin and serve or store.

Leave a Reply