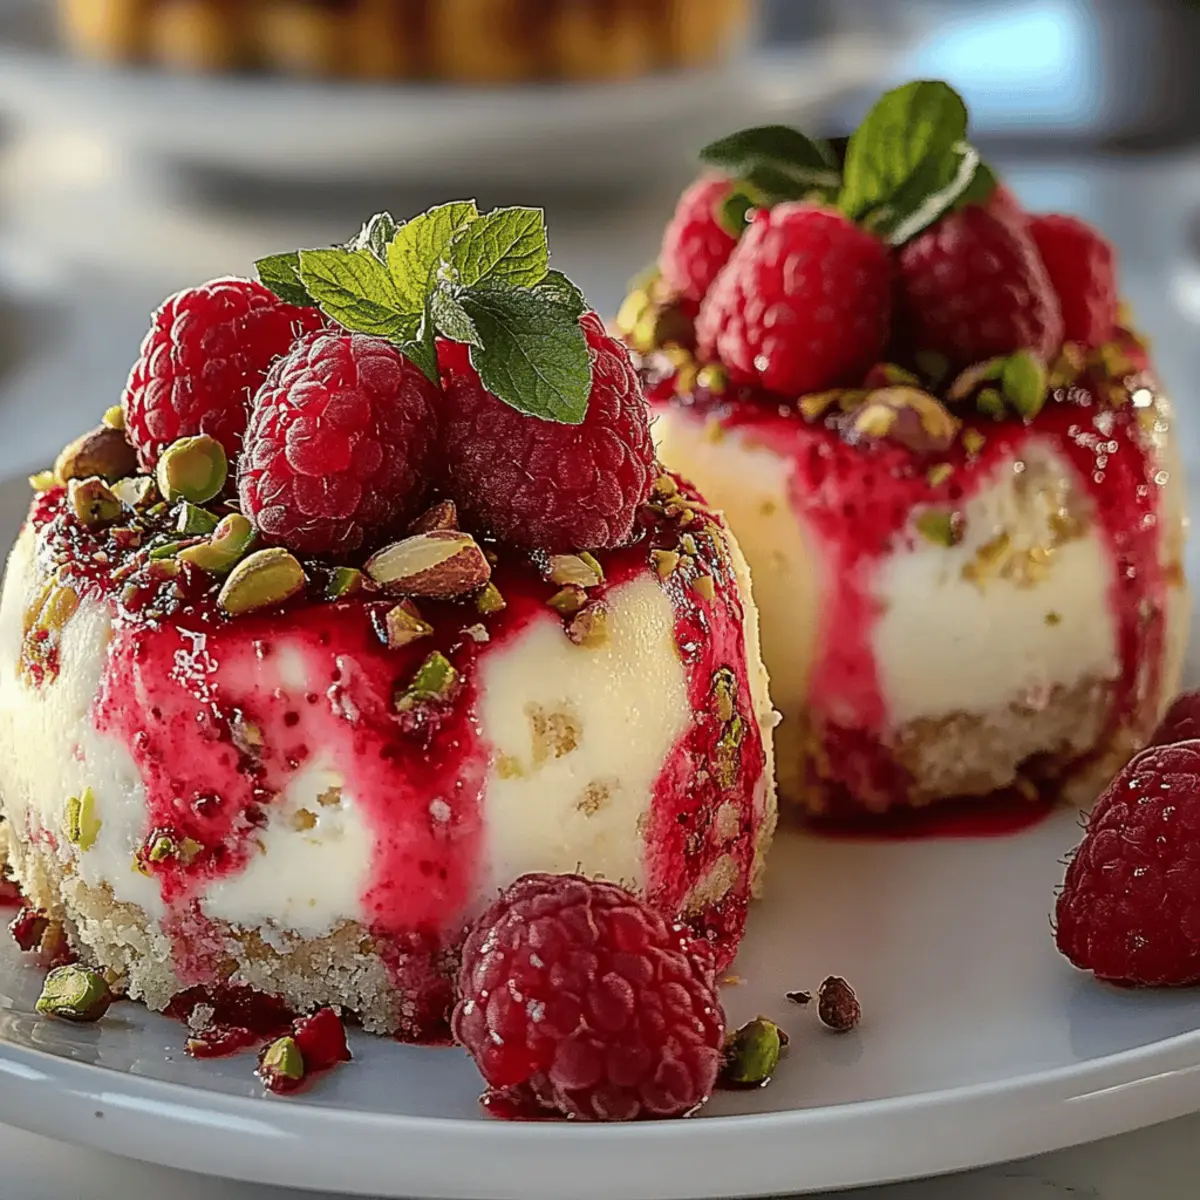
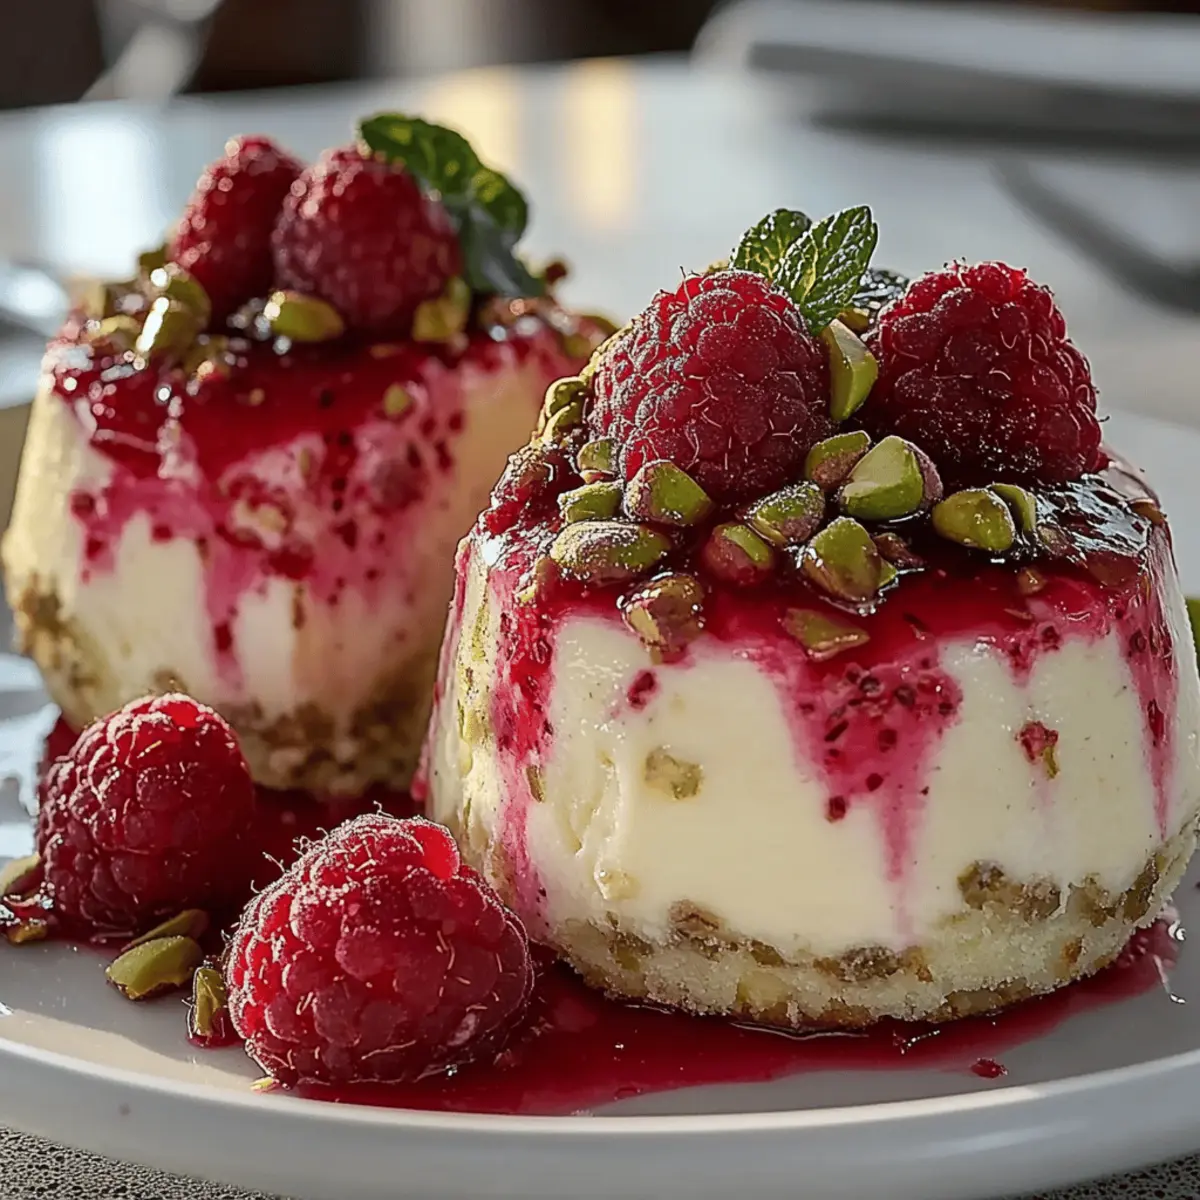
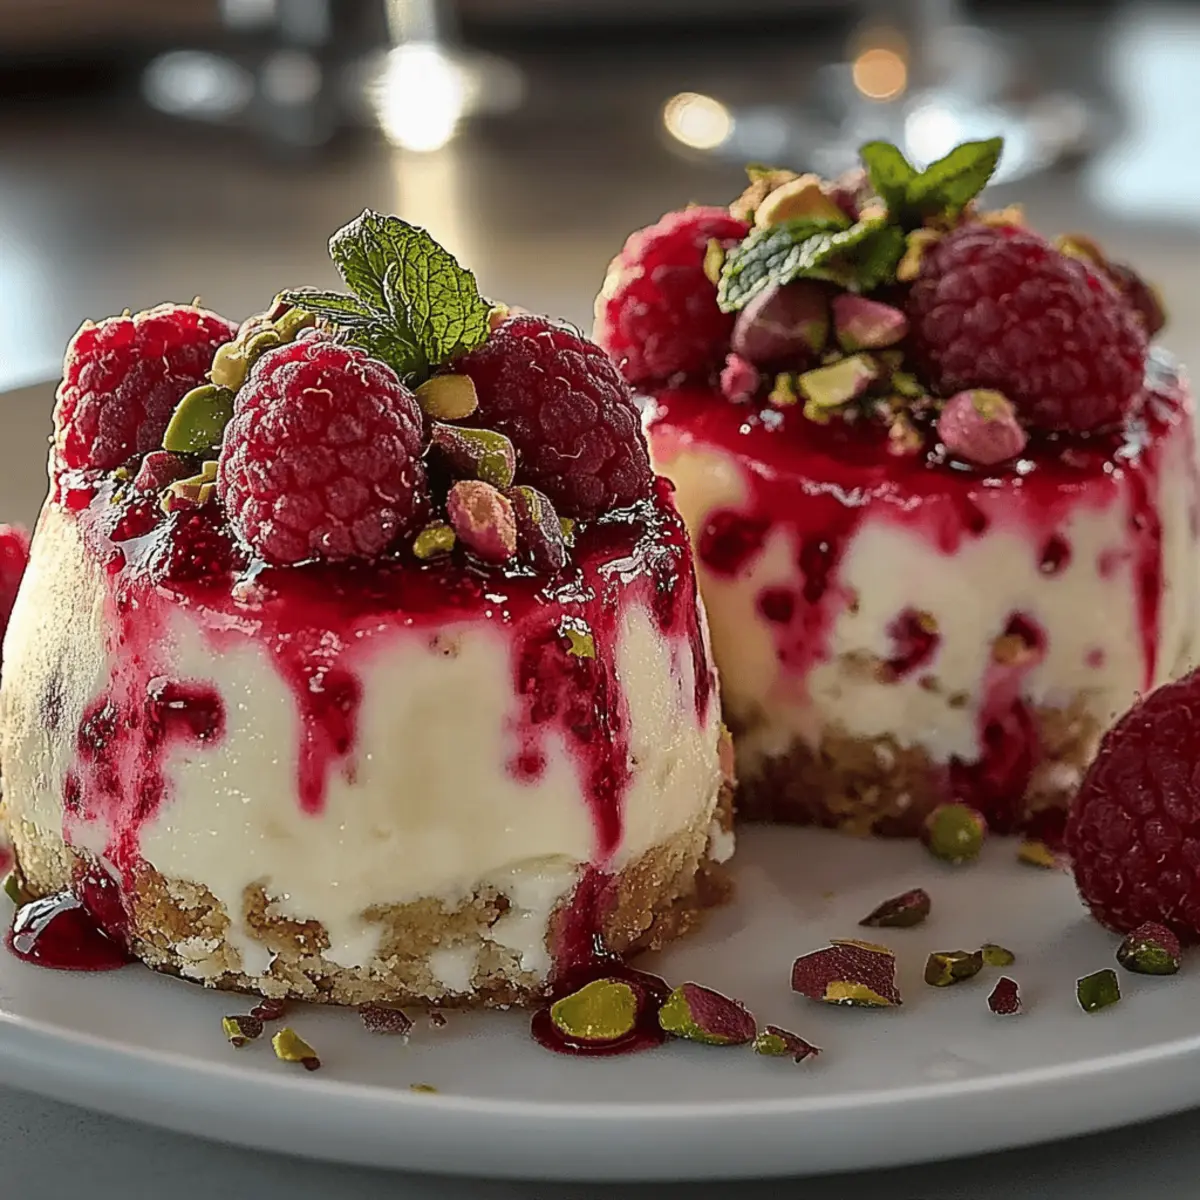
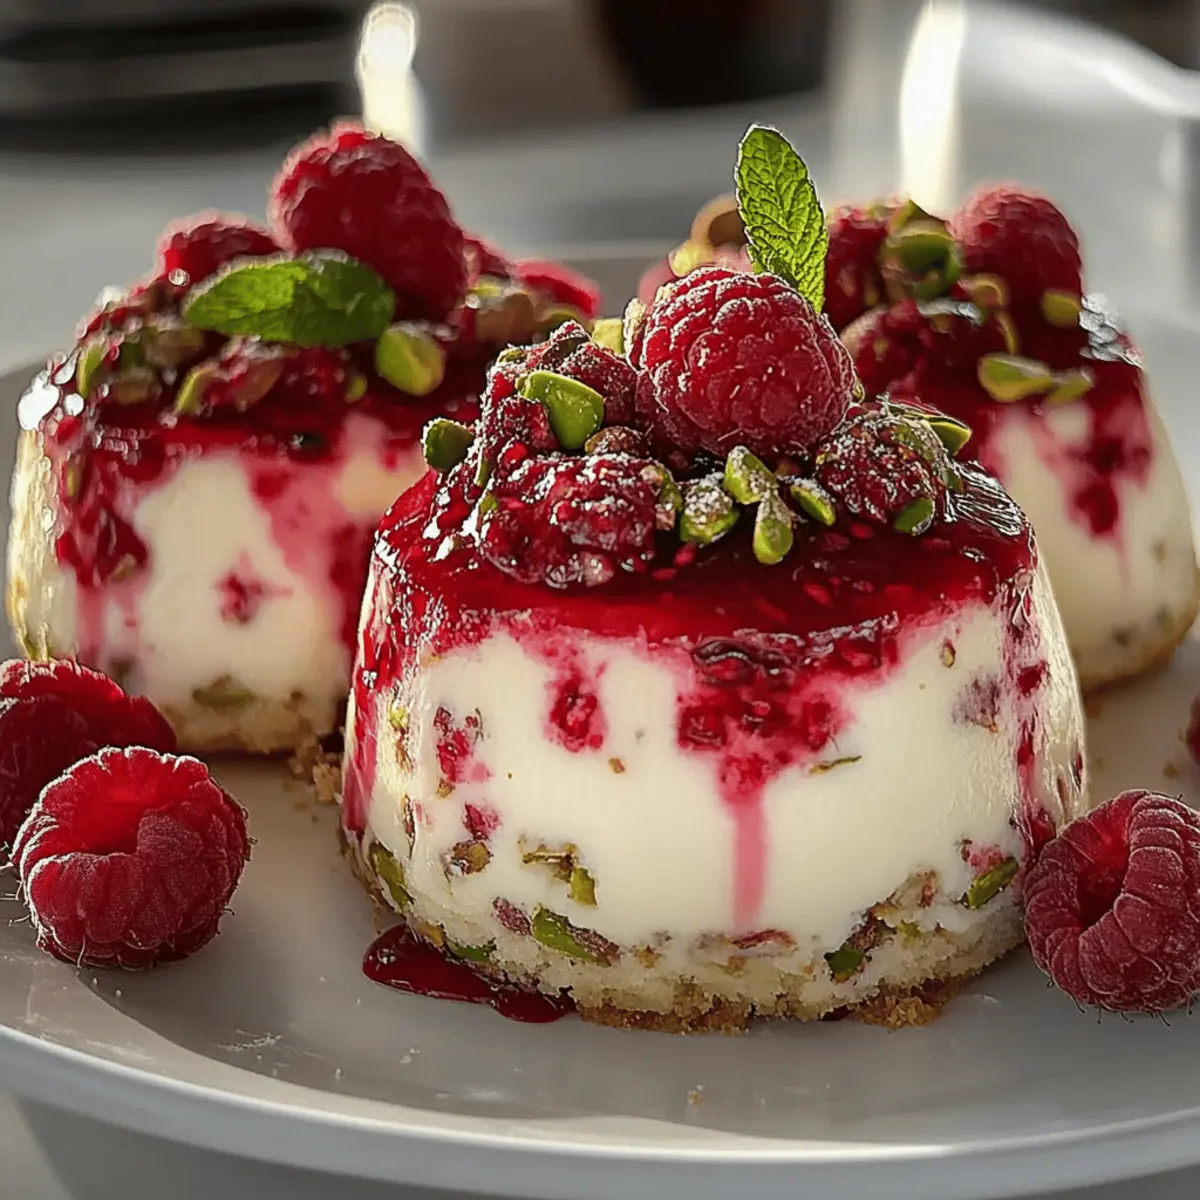
As the first whiff of roasted pistachios hit my senses, I knew a delightful dessert was in the works. These Pistachio & Raspberry Cheesecake Domes combine the luxurious creaminess of cheesecake with a nutty crunch that’s simply irresistible. Perfect for impressing guests or treating yourself, this recipe is not only gorgeous but also features a luscious filling that balances out the tartness of fresh raspberries. Plus, with the option to create a gluten-free crust, you can cater to various dietary needs without compromising on taste. How can you resist this stunning twist on a classic? Let’s dive into the details and whip up a dessert that will surprise and delight everyone at your table!

Why are these cheesecake domes a must-try?
Indulgent Flavor: The delightful pairing of pistachios and raspberries results in a dessert that is both nutty and fruity, offering a unique twist on traditional cheesecake.
Visual Appeal: These domes are not just tasty; they’re a feast for the eyes, making them the perfect dessert to wow your guests.
Gluten-Free Option: With a simple swap to ground almonds, you can easily accommodate gluten-free diets without sacrificing flavor.
Easy Preparation: This recipe offers straightforward steps, allowing both novice and seasoned chefs to create a stunning dessert with ease.
Perfect for Any Occasion: Whether it’s a family gathering or a dinner party, these cheesecakes will be the highlight of your table.
Don’t forget to check out our Churro Cheesecake Wow or the indulgent Strawberry Crunch Cheesecake for more delightful recipes!
Pistachio & Raspberry Cheesecake Domes Ingredients
For the Cheesecake Filling
- Cream Cheese – Provides the creamy texture of the filling; ensure it’s softened for easy mixing.
- Granulated Sugar – Sweetens the filling, balancing the tanginess of cream cheese and raspberries; consider a sugar alternative for a low-calorie version.
- Sour Cream – Adds creaminess and a slight tang; can be replaced with Greek yogurt if desired.
- Vanilla Extract – Enhances flavor; always opt for pure vanilla for the best results.
- Eggs – Provide structure and stability to the cheesecake; remember to use room temperature eggs for better incorporation.
- Raspberries – Add freshness and tartness; you can use fresh or frozen varieties.
For the Pistachio Crust
- Pistachio Nuts – Ground to create the crust, adding a delightful nutty base; feel free to substitute with ground almonds if allergies are a concern.
- Unsalted Butter – Binds the crust ingredients together, contributing richness; coconut oil can be a good alternative.
For the Raspberry Sauce
- Lemon Juice – Brightens the raspberry sauce; while optional, it’s recommended for added acidity.
- Optional Garnishes – Chopped pistachios and fresh mint leaves add a burst of color and flavor to your presentation.
Indulge in these Pistachio & Raspberry Cheesecake Domes as a sweet finishing touch for any special occasion!
Step‑by‑Step Instructions for Pistachio & Raspberry Cheesecake Domes
Step 1: Prepare the Pistachio Crust
Preheat your oven to 350°F (175°C) to get it ready for baking. In a mixing bowl, combine ground pistachios with granulated sugar and melted butter until the mixture resembles wet sand. Press this mixture firmly into the bottom of your molds for a sturdy crust. Bake for 10–12 minutes until it turns a light golden brown, then set aside to cool.
Step 2: Make the Cheesecake Filling
In a large mixing bowl, beat the softened cream cheese using an electric mixer on medium speed until it’s creamy and smooth. Gradually add granulated sugar, sour cream, and vanilla extract, mixing well. Incorporate the eggs one at a time, ensuring they’re fully blended before adding the next, then gently fold in the raspberries for an even distribution of fruit in your Pistachio & Raspberry Cheesecake Domes.
Step 3: Assemble and Bake
Once your crust has cooled, pour the cheesecake filling over it, spreading it evenly with a spatula. Carefully place the molds in the preheated oven and bake for 25–30 minutes. The edges should be set while the center appears slightly jiggly—this indicates it’s perfectly baked. After removing from the oven, let them cool in the oven for 30 minutes to ensure a smooth texture.
Step 4: Prepare the Raspberry Sauce
In a medium saucepan, combine fresh or frozen raspberries, granulated sugar, and lemon juice over medium heat. Stir constantly until the mixture starts to thicken, which takes about 5–7 minutes. For a smoother sauce, strain the mixture to remove the seeds, if desired. Set the raspberry sauce aside to cool while your cheesecakes finish chilling.
Step 5: Chill and Serve
Once the cheesecake domes are cooled, transfer them to the refrigerator and chill for at least 4 hours. This step allows the flavors to meld and the cheese to set properly. When ready to serve, plate each dome and drizzle with raspberry sauce, garnishing with chopped pistachios and mint leaves for an extra touch of elegance.

Expert Tips for Pistachio & Raspberry Cheesecake Domes
-
Room Temperature Ingredients: Ensure your cream cheese and eggs are at room temperature for a smoother filling and better incorporation.
-
Avoid Overbaking: Keep a close eye on baking; the center should be slightly jiggly when removed from the oven to achieve the perfect Pistachio & Raspberry Cheesecake Domes.
-
Gentle Mixing: Once the eggs are added to the filling, mix gently. Overmixing can lead to a denser texture, which we want to avoid.
-
Chill Thoroughly: For the best creamy consistency, refrigerate the domes for at least 4 hours, allowing flavors to develop beautifully.
-
Creative Variations: Don’t hesitate to switch up the flavors! Try using different berry sauces or nuts for a personalized touch.
How to Store and Freeze Pistachio & Raspberry Cheesecake Domes
Fridge: Store leftover cheesecake domes in an airtight container for up to 3 days. This keeps them fresh and prevents any flavors from mingling.
Freezer: For longer storage, freeze the cheesecake domes in a single layer on a baking sheet. Once solid, wrap each dome individually in plastic wrap and store in a freezer-safe container for up to 2 months.
Thawing: To enjoy your frozen Pistachio & Raspberry Cheesecake Domes, simply transfer them to the refrigerator to thaw overnight before serving.
Reheating: These cheesecakes are best enjoyed chilled, so avoid reheating; just take them directly from the fridge for a refreshing treat!
What to Serve with Pistachio & Raspberry Cheesecake Domes
Elevate your dessert experience with delightful accompaniments that bring out the best in these decadent cheesecake domes.
-
Whipped Cream: A fluffy dollop of freshly whipped cream adds a luscious texture that beautifully contrasts the creamy filling.
-
Fresh Berries: Serve with a mix of fresh raspberries and blueberries for a burst of color and complementary tartness. Pairing these with the cheesecake adds a delightful freshness.
-
Mint Leaves: A sprinkle of vibrant mint leaves not only brightens the visual appeal but also imparts a refreshing aroma and flavor that balances the richness.
-
Chocolate Ganache: A drizzle of silky chocolate ganache offers a decadent touch that enhances the nutty and fruity flavors of the cheesecake. A rich combination that chocolate lovers will adore.
-
Nutty Granola: For added crunch, sprinkle some nutty granola on top, which enhances the nutty flavor of the cheesecake while providing texture.
-
Citrus Sorbet: A scoop of citrus sorbet adds a refreshing, tangy note that cuts through the creaminess, making every bite a harmonious blend of flavors.
-
Spiced Tea or Coffee: Pour a cup of spiced chai or rich coffee to accompany your dessert; the warmth of these drinks beautifully complements the coolness of the cheesecakes, creating a delightful balance.
-
Almond Biscotti: Pair these domes with crunchy almond biscotti for a delightful textural contrast—a perfect pairing that invites leisurely enjoyment.
These pairings beautifully complement the Pistachio & Raspberry Cheesecake Domes, enhancing the overall dining experience with varied textures and flavors!
Pistachio & Raspberry Cheesecake Domes Variations
Feel free to get creative with these cheesecake domes and make them your own—your taste buds will thank you!
-
Berries Swap: Replace raspberries with blueberries or strawberries for a fruity twist that still delivers vibrant color and flavor.
-
Nut-Free Crust: Use crushed graham crackers or oats instead of pistachios for a nut-free and equally delightful crust. It will provide a sweeter, softer texture.
-
Dairy-Free: Substitute cream cheese with a dairy-free cream cheese and use coconut yogurt to cater to lactose intolerance or dairy-free diets.
-
Flavor Boost: Add a teaspoon of almond or orange extract in your cheesecake filling for an unexpected layer of flavor that will awaken your senses.
-
Extra Crunch: Sprinkle some crushed pistachios or almonds on top of the cheesecake domes before serving for additional texture and a lovely presentation.
-
Chocolate Drizzle: Drizzle melted dark chocolate over the tops for a luxurious finish. The rich chocolate complements the raspberry beautifully.
-
Heat It Up: For a little spice, add a pinch of cayenne pepper or crushed red pepper flakes into the raspberry sauce. This surprising twist will tantalize adventurous palates.
-
Mini Domes: Create bite-sized versions of these cheesecake domes in a mini muffin tin for perfect party treats. They are adorable and will be a hit!
Exploring these variations makes this recipe even more versatile! If you’re interested in more delightful desserts, you might enjoy our Churro Cheesecake Wow or the refreshing Strawberry Crunch Cheesecake. Happy baking!
Make Ahead Options
These Pistachio & Raspberry Cheesecake Domes are ideal for busy cooks looking to save time on dessert preparation! You can prepare the pistachio crust up to 24 hours in advance; just store it in an airtight container to keep it fresh. Similarly, the cheesecake filling can be whipped up and stored in the refrigerator for up to 3 days before you assemble them. To maintain quality, ensure you cover the filling tightly to prevent any absorption of odors. When you’re ready to serve, simply pour the filling over the cooled crust, bake as directed, and chill. You’ll have a stunning dessert that tastes just as fresh as the day you made it!

Pistachio & Raspberry Cheesecake Domes Recipe FAQs
What should I look for when selecting pistachios?
Absolutely! When choosing pistachios, look for those that are vibrant in color and free from any dark spots or blemishes. The shells should be slightly open, indicating they are fresh. Avoid any that are shriveled or show signs of mold.
How can I store leftover cheesecake domes?
You can store leftover Pistachio & Raspberry Cheesecake Domes in an airtight container in the refrigerator for up to 3 days. This keeps them fresh and prevents any flavors from mingling, ensuring every bite remains as delightful as the first!
Can I freeze the cheesecake domes?
Very! To freeze your cheesecake domes, first place them in a single layer on a baking sheet until solid. Once frozen, wrap each dome individually in plastic wrap and store them in a freezer-safe container for up to 2 months. When you’re ready to indulge, simply transfer them to the refrigerator to thaw overnight.
What can I do if my cheesecake filling is too runny?
If your cheesecake filling turns out runny, it may be due to overmixing or undercooking. To remedy this, add an extra egg to the mixture and whip it lightly, or you can bake it a bit longer until the edges set, while keeping the center slightly jiggly. Let it cool completely to achieve the right texture as it firms up while chilling in the fridge.
Is this recipe suitable for people with nut allergies?
Great question! This recipe features pistachios in the crust, so it is not suitable for those with nut allergies. However, you can easily substitute ground almonds or make a gluten-free crust using a mixture of gluten-free cookies for a delicious alternative that caters to those dietary restrictions.
Can I use another type of fruit for the sauce?
Absolutely! While the raspberries add a lovely tartness, you can substitute them with other fruits like strawberries or blueberries for the sauce. Each option brings its own unique flavor to the dish while maintaining that delicious cheesecake experience you love!

Pistachio & Raspberry Cheesecake Domes: A Creamy Dream Dessert
Ingredients
Equipment
Method
- Preheat your oven to 350°F (175°C). In a mixing bowl, combine ground pistachios with granulated sugar and melted butter until the mixture resembles wet sand. Press into the bottom of your molds. Bake for 10–12 minutes until golden, and set aside to cool.
- In a large mixing bowl, beat softened cream cheese until creamy. Gradually add sugar, sour cream, and vanilla, mixing well. Incorporate the eggs one at a time, then fold in raspberries.
- Pour the cheesecake filling over the cooled crust and spread evenly. Bake for 25–30 minutes until edges are set and center is slightly jiggly. Cool in the oven for 30 minutes.
- Combine raspberries, sugar, and lemon juice in a saucepan over medium heat. Stir until thickened, about 5–7 minutes. Optionally strain to remove seeds and let cool.
- Chill the cheesecake domes in the refrigerator for at least 4 hours. Serve with raspberry sauce and garnish with chopped pistachios and mint leaves.

Leave a Reply