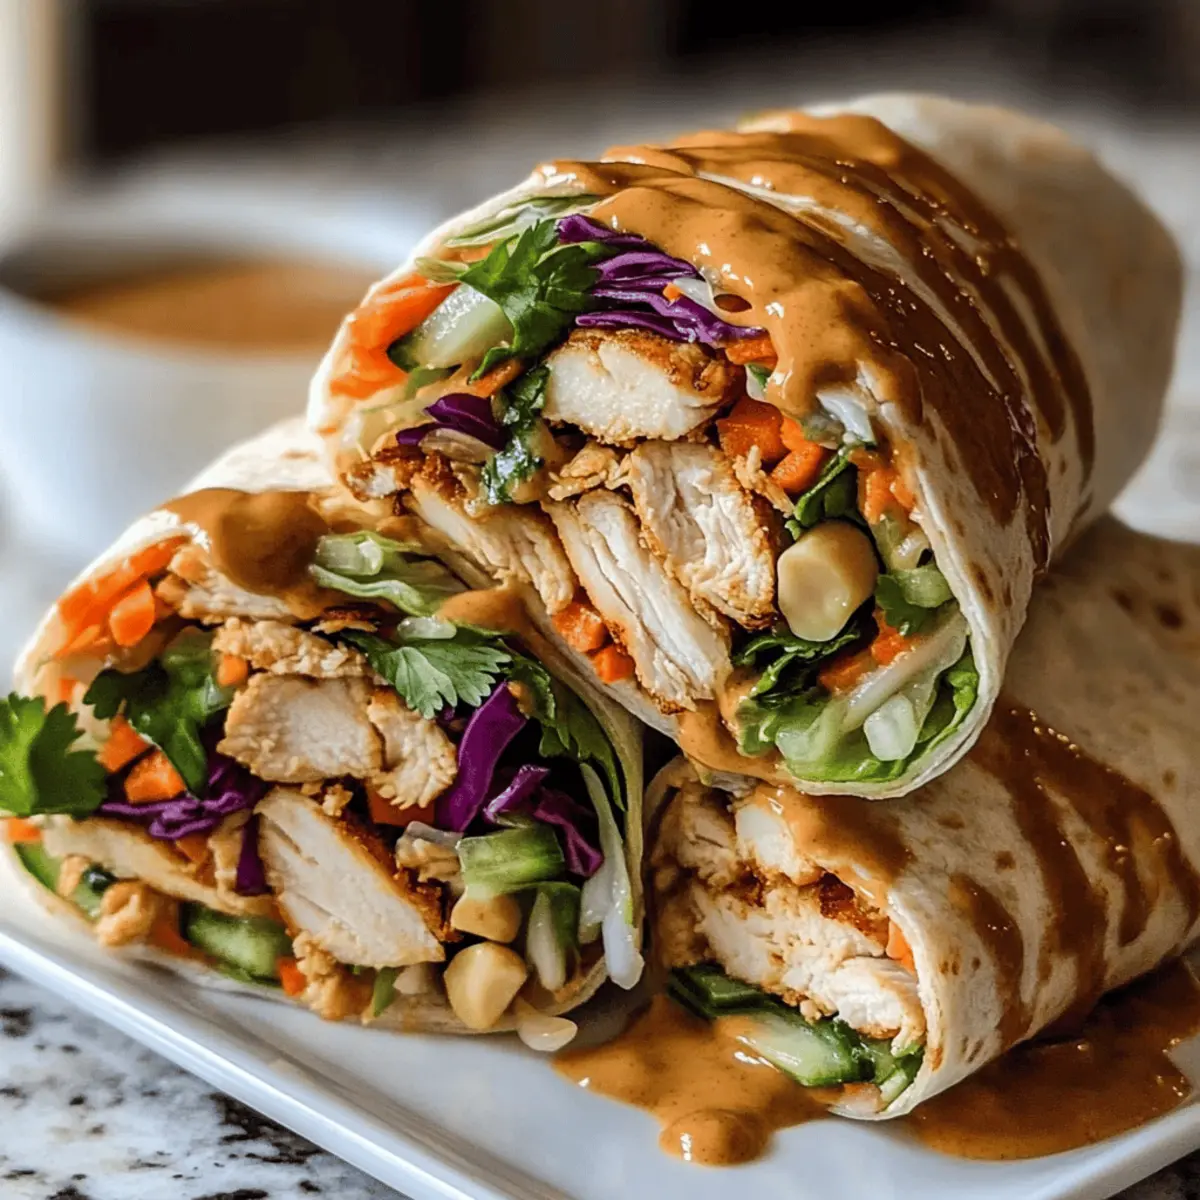
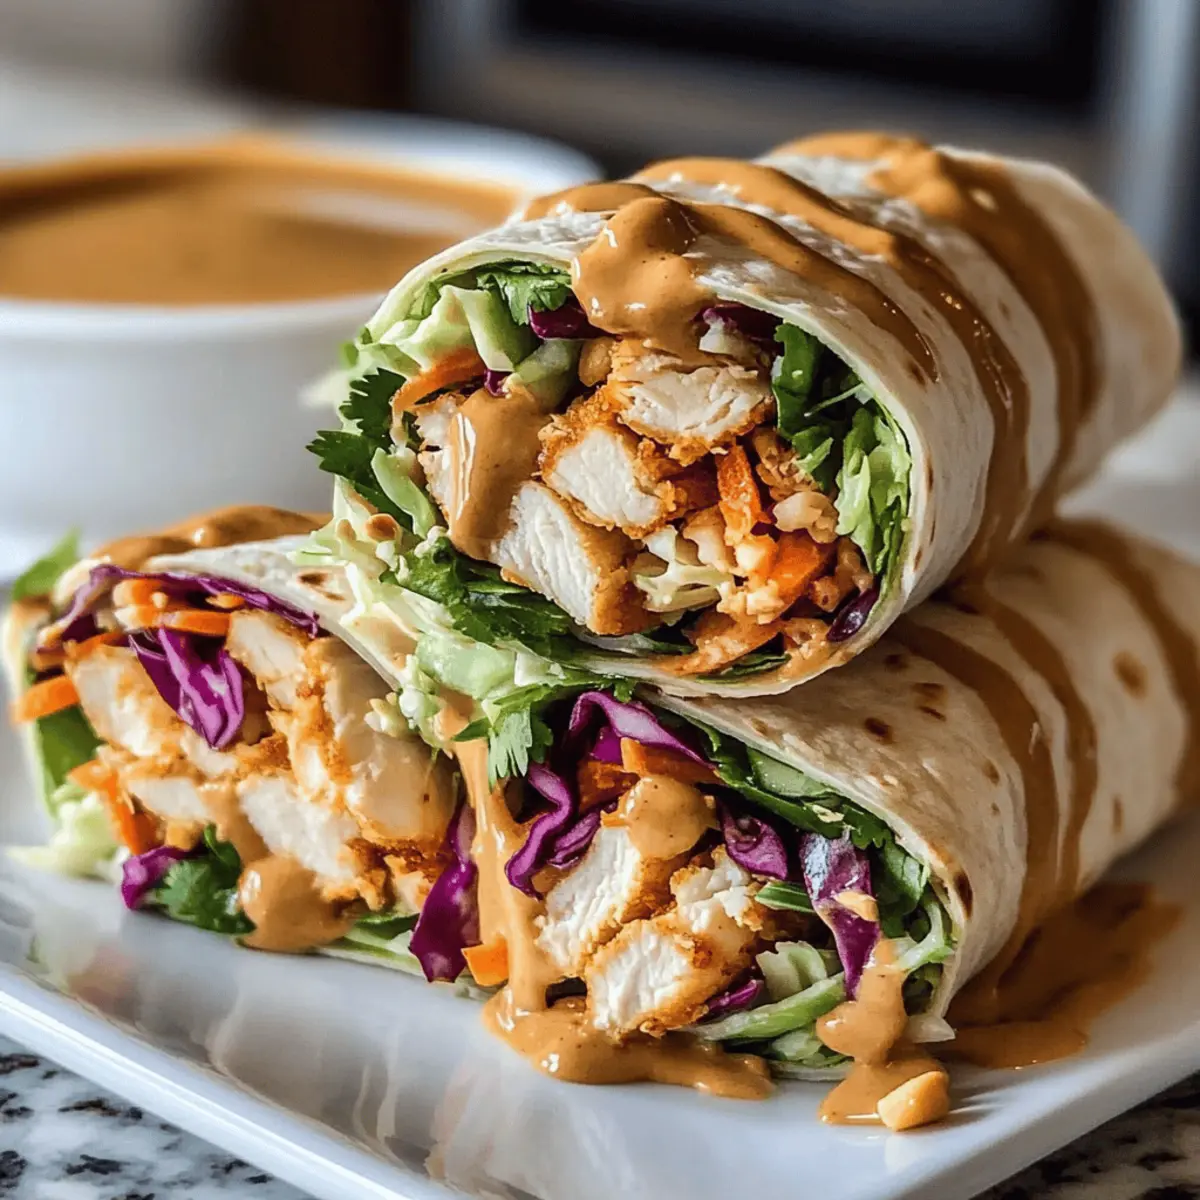
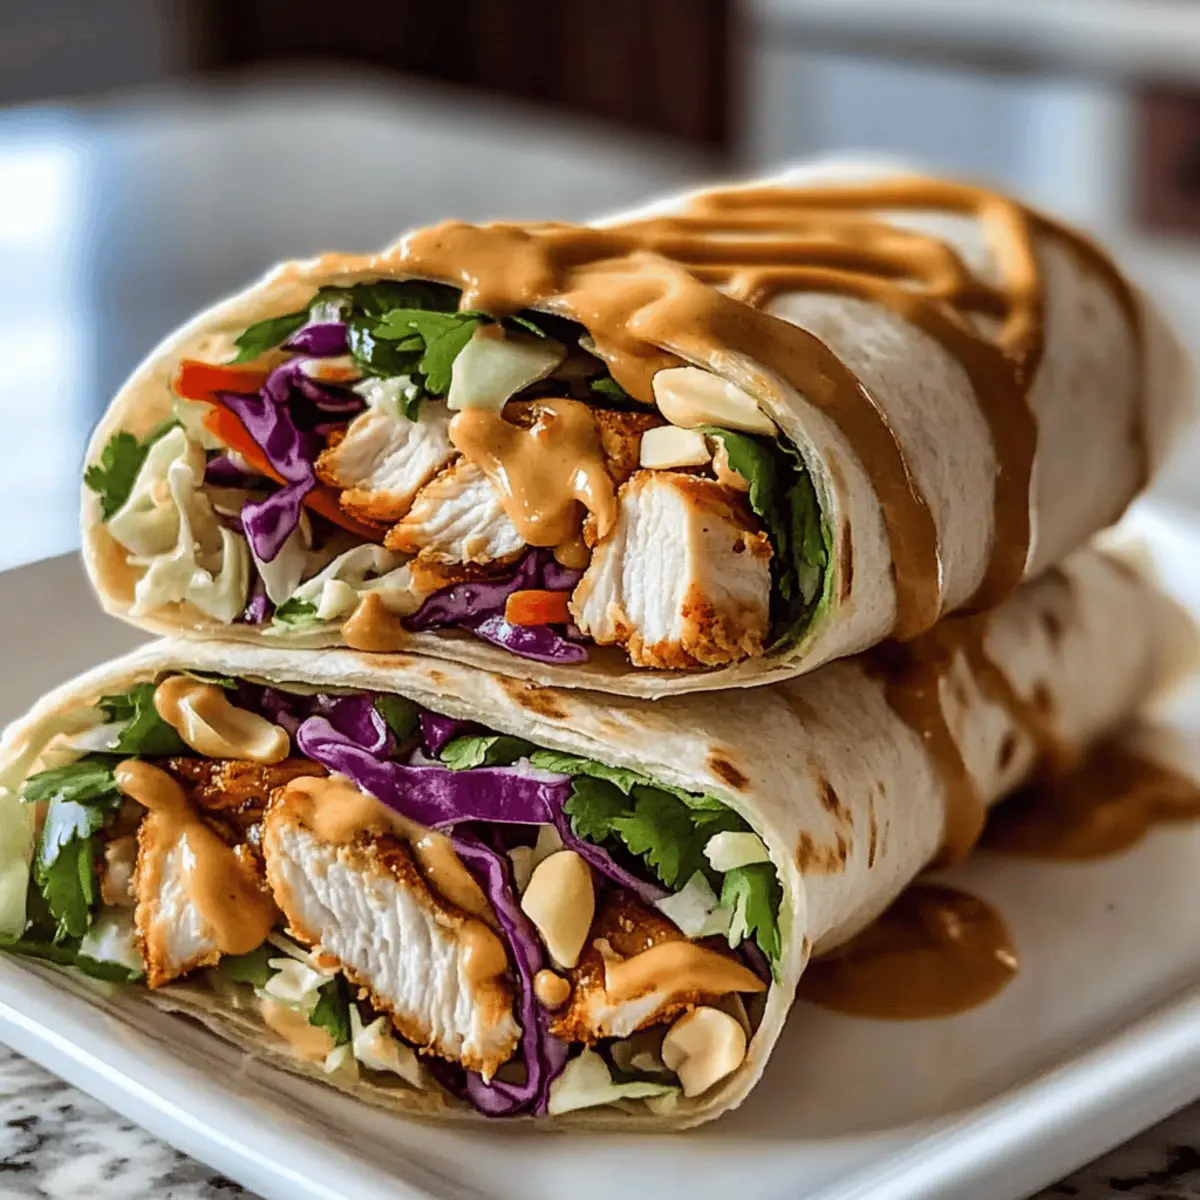
While rummaging through my pantry on a busy weeknight, I stumbled upon a jar of peanut butter that sparked an idea. What if I could whip up something cozy and satisfying without compromising taste or taking hours in the kitchen? Enter these Thai Peanut Chicken Wraps! This quick meal comes together in just 15 minutes and offers a delightful mix of textures with tender chicken, crunchy coleslaw, and a creamy homemade peanut sauce—all wrapped up in warm tortillas. You’ll love how customizable this dish is, making it a wonderful option whether you prefer chicken, want to go vegetarian with tofu or chickpeas, or need a nut-free twist. Perfect for meal prep or as a speedy lunch, these wraps are bound to become a staple in your kitchen. Curious about how to make these delicious bites? Let’s dive into the details!

Why are Thai Peanut Chicken Wraps a must-try?
Quick and Easy: In just 15 minutes, you can create a satisfying meal that brightens up any weeknight dinner. Perfect for those busy days!
Customizable Delight: This recipe caters to all dietary needs—try tofu or chickpeas for a vegetarian version, or opt for nut-free with sunflower seed butter!
Flavor Fusion: The luscious peanut sauce combined with crunchy coleslaw and fresh cilantro adds a vibrant flavor that will leave you craving more.
Meal Prep Friendly: Make your filling ahead of time, keeping ingredients fresh and ready for easy assembly during the week.
Crowd-Pleaser: Whether you’re serving family or hosting friends, these wraps are sure to impress, making them an excellent addition to your go-to recipes.
Thai Peanut Chicken Wraps Ingredients
For the Peanut Sauce
- Peanut Butter – Provides creaminess and depth of flavor; substitute with sunflower seed butter or almond butter for allergies.
- Low-Sodium Soy Sauce – Adds umami and saltiness; use tamari for a gluten-free option.
- Brown Sugar or Honey – Sweetness to balance the sauce; can substitute with maple syrup for a vegan option.
- Rice Wine Vinegar – Offers acidity and brightness; apple cider vinegar can be used as a substitute.
- Minced Garlic – Adds aromatic flavor; fresh or powdered garlic can be used, but fresh is preferable for potency.
- Minced Ginger – Contributes warmth and spice; use fresh for the best flavor.
- Sriracha Sauce – Adds heat to the dressing; adjust based on your spice preference.
For the Filling
- Cooked Chicken Breasts – Lean protein base; rotisserie chicken is a great time-saving option.
- Coleslaw Mix – Provides crunch and color; easily replace with thinly sliced cabbage or kale if unavailable.
- Grated Carrot (optional) – Adds sweetness and nutrition; could be omitted for simplicity.
- Chopped Cilantro – Introduces a fresh herb flavor; can be replaced with parsley for a milder taste.
- Roasted Salted Peanuts – Adds crunch and nutty flavor; can be omitted for nut-free versions.
For the Wraps
- Tortillas – Serves as the wrap; consider using lettuce for a low-carb alternative or gluten-free tortillas for dietary needs.
These Thai Peanut Chicken Wraps are not only quick to prepare but also delightful and satisfying!
Step‑by‑Step Instructions for Thai Peanut Chicken Wraps
Step 1: Prepare the Peanut Sauce
In a small bowl, combine 1/2 cup of peanut butter, 1/4 cup of low-sodium soy sauce, 2 tablespoons of brown sugar or honey, 2 tablespoons of rice wine vinegar, 2 minced garlic cloves, 1 tablespoon of minced ginger, and 1 tablespoon of sriracha. Whisk until smooth and creamy, adjusting thickness with a splash of water if desired. Set aside, allowing the flavors to meld together while you prepare the filling.
Step 2: Mix the Filling
In a large mixing bowl, combine 2 cups of cooked shredded chicken, 2 cups of coleslaw mix, 1/2 cup of grated carrot (if using), 1/4 cup of chopped cilantro, and 1/4 cup of roasted salted peanuts. Pour the prepared peanut sauce over this mixture, stirring gently to ensure everything is well coated. Let the filling sit for about 5 minutes to soak in the flavors and enjoy the vibrant colors.
Step 3: Warm the Tortillas
To make your tortillas pliable and ready for wrapping, stack up to 4 tortillas and heat them in the microwave on a microwave-safe plate for about 30 seconds. This simple step will prevent tearing during assembly, making your Thai Peanut Chicken Wraps easy to handle and enjoyable to eat as you prepare to put it all together.
Step 4: Assemble the Wraps
Lay the warm tortillas on a flat surface. Carefully spoon an even amount of the filling down the center of each tortilla, taking care not to overfill. Fold the sides of the tortilla inward, then roll it up tightly from the bottom to secure the filling inside. Initialize even rolls for every wrap to maintain aesthetic appeal and ensure every bite is packed with flavor.
Step 5: Serve Immediately
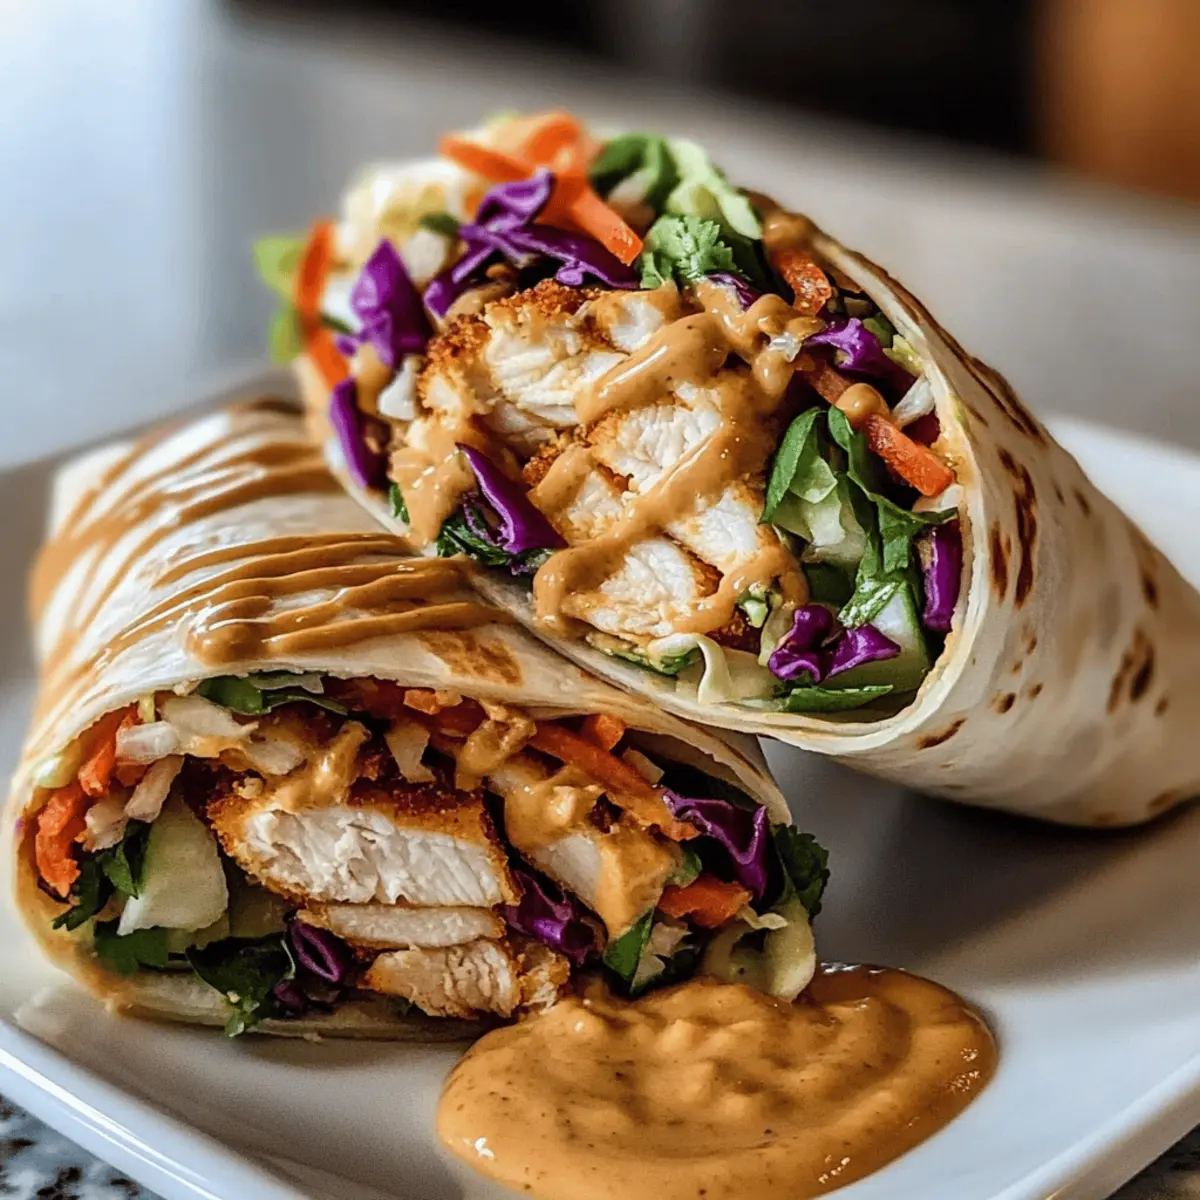
Once assembled, you can slice the Thai Peanut Chicken Wraps in half on a diagonal for a lovely presentation. Enjoy them fresh at room temperature or with extra peanut sauce drizzled on top for enhanced flavor. Alternatively, you can prepare them ahead and refrigerate for a quick meal; just note that they are best enjoyed fresh.

What to Serve with Thai Peanut Chicken Wraps
Enhance your delightful meal experience with these tasty accompaniments that will complement the vibrant flavors of your wraps.
-
Light Cucumber Salad: A refreshing salad with crisp cucumbers and tangy rice vinegar adds a cool, zesty contrast to the wraps. Perfect for balancing out the creamy peanut sauce!
-
Tom Yum Soup: This fragrant Thai soup brings warmth and a hint of spice, creating a harmonious pairing that elevates your dinner to a cozy, comforting experience.
-
Steamed Jasmine Rice: Fluffy jasmine rice acts as a neutral base, soaking up any extra peanut sauce, and providing a satisfying heartiness to your meal. It’s a brilliant way to stretch the dining experience!
-
Sweet Thai Chili Sauce: Drizzle this sweet and spicy sauce over your wraps or serve it on the side for an extra layer of flavor, enhancing the deliciousness of every bite.
-
Crispy Vegetable Spring Rolls: Light and crunchy, these rolls bring texture and a delicious crunch to your plate, while refreshing dipping sauces would perfectly complement the wraps.
-
Mango Sticky Rice: For a sweet finish, this classic Thai dessert pairs wonderfully after your savory meal; its creaminess and subtle sweetness provide a delightful conclusion.
Expert Tips for Thai Peanut Chicken Wraps
-
Prep Ahead: Make the filling in advance and store it separately to maintain freshness and avoid soggy wraps later.
-
Warm Up: Always warm your tortillas before wrapping; this helps them become pliable and prevents tearing.
-
Don’t Overfill: Be cautious with the filling; too much can make rolling difficult, leading to messy wraps. Stick to a moderate amount for best results.
-
Customize Spice: Adjust the amount of sriracha according to your heat preference. For milder flavors, start with less and add to taste.
-
Add Freshness: Consider adding slices of cucumber or bell peppers inside the wraps for an extra crunch and freshness to your Thai Peanut Chicken Wraps.
-
Storage Tips: If making ahead, keep assembled wraps in parchment and foil in the fridge. They last up to two days but taste best fresh!
Make Ahead Options
These Thai Peanut Chicken Wraps are a fantastic choice for meal prep enthusiasts! You can prepare the filling—cooked chicken, coleslaw mix, grated carrots, cilantro, and peanuts—up to 24 hours in advance; simply store it in an airtight container in the refrigerator to keep it fresh. To maintain quality, keep the filling separate from the tortillas to avoid sogginess. When you’re ready to enjoy your wraps, just warm the tortillas in the microwave for about 30 seconds, assemble the wraps, and drizzle with the homemade peanut sauce. This way, you’ll have a delicious, restaurant-quality meal ready with minimal effort on busy weeknights!
Thai Peanut Chicken Wraps Variations
Feel free to get creative and tailor these wraps to suit your tastes and dietary needs!
-
Vegetarian Version: Swap chicken for firm tofu or chickpeas to create a satisfying, meatless meal. This variation packs great protein and can delight even the most devoted carnivores!
-
Nut-Free Option: Use sunflower seed butter or tahini in place of peanut butter for a nut-free alternative. Your wraps will still be creamy and delicious, with a unique flavor twist!
-
Additional Veggies: Add sliced bell peppers, cucumber, or avocado to the filling for extra crunch and nutrition. The combined textures and flavors will elevate your wraps to new heights.
-
Dairy-Free: Ensure your ingredients are dairy-free, especially when choosing additions like cheese. You can easily replace any dairy-based components in your meal.
-
Spicy Twist: Up the ante on heat by incorporating fresh sliced chilies or adjusting your sriracha levels to your liking. A little kick can take your flavors to a whole new level!
-
Whole Wheat Tortillas: Switch to whole wheat or spinach tortillas for a healthy twist. In addition to added fibers, they offer a lovely aesthetic and taste that complements the wrap’s filling perfectly.
-
Asian-Inspired Sauces: Experiment with hoisin sauce or chili garlic sauce instead of the peanut sauce for a delightful fusion experience. Complement these substitutions with additional sesame seeds for extra flavor!
-
Low-Carb Lettuce Wraps: Enjoy a lighter version by using large lettuce leaves instead of tortillas. This easy swap brings in a crisp, refreshing bite and keeps the calories in check.
By switching up ingredients and techniques, you can make these Thai Peanut Chicken Wraps cater to every craving, meal prep need, or dietary restriction. Pair them with a light cucumber salad or a warm bowl of tom yum soup for a well-rounded meal that bursts with flavor!
How to Store and Freeze Thai Peanut Chicken Wraps
Fridge: Store assembled wraps in an airtight container in the refrigerator for up to 2 days for the best flavor and texture.
Filling Storage: Keep the filling and sauce in separate airtight containers in the fridge for up to 3 days. This prevents the tortillas from getting soggy.
Freezer: To freeze, wrap each assembled wrap in parchment paper and then foil. They can be frozen for up to 3 months. Thaw in the fridge overnight before reheating.
Reheating: Reheat wrapped Thai Peanut Chicken Wraps in the microwave for 30-60 seconds or in a skillet over medium heat until warm. Serve with extra sauce for a fresh taste!

Thai Peanut Chicken Wraps Recipe FAQs
How do I choose ripe ingredients for my Thai Peanut Chicken Wraps?
Absolutely! For the best taste and texture, select fresh vegetables. Look for coleslaw mixes with vibrant color and crispness; avoid packages with dark spots or wilting. When choosing chicken, opt for breast pieces that are firm and without any off odor. If using a nut butter, check its consistency—smooth and creamy is ideal!
What’s the best way to store leftover Thai Peanut Chicken Wraps?
To maintain the freshness of your wraps, store them in an airtight container in the refrigerator for up to 2 days. If you separate the filling from the tortillas, you’ll ensure they stay crisp. Don’t forget to cover the filling with a lid or plastic wrap, keeping it fresh for up to 3 days!
Can I freeze my Thai Peanut Chicken Wraps for later?
Absolutely! To freeze, wrap each assembled wrap tightly in parchment paper, then in foil to prevent freezer burn. They can last up to 3 months in the freezer. When you’re ready to enjoy, thaw them in the fridge overnight and reheat in the microwave for 30-60 seconds or in a skillet over medium heat until heated through.
What can I do if my wraps are falling apart during assembly?
This can happen if the tortillas are too cold or too dry! Always warm them briefly in the microwave for 30 seconds to make them more pliable. If they’re still tearing, try using fresh tortillas or adding just a moderate amount of filling to avoid overstuffing.
Are there any dietary considerations I should keep in mind for my wraps?
Very much so! For nut allergies, substitute peanut butter with sunflower seed butter or tahini. If you’re preparing food for pets, remember that garlic and onions should be avoided. This recipe can easily adapt to various diets—just swap in tofu or chickpeas for the chicken to make it vegetarian, and ensure to use gluten-free tortillas for gluten sensitivity.
How long can I keep the peanut sauce in the refrigerator?
Your homemade peanut sauce can be stored in an airtight container in the fridge for up to 1 week. Just give it a good stir before using, as it may thicken over time. If you find it too thick, add a little water or more soy sauce to reach your desired consistency!

Delicious Thai Peanut Chicken Wraps Ready in 15 Minutes
Ingredients
Equipment
Method
- In a small bowl, combine peanut butter, soy sauce, brown sugar or honey, rice wine vinegar, minced garlic, minced ginger, and sriracha. Whisk until smooth and creamy, adjusting thickness with a splash of water if desired. Set aside to allow flavors to meld.
- In a large mixing bowl, combine cooked shredded chicken, coleslaw mix, grated carrot, chopped cilantro, and roasted salted peanuts. Pour the prepared peanut sauce over this mixture and stir gently. Let the filling sit for about 5 minutes.
- Stack tortillas and heat in the microwave on a microwave-safe plate for about 30 seconds.
- Lay warm tortillas on a flat surface. Spoon an even amount of the filling down the center of each tortilla, fold sides inward, and roll up tightly.
- Slice the wraps in half on a diagonal for a lovely presentation. Enjoy fresh or prepare ahead and refrigerate for a quick meal.

Leave a Reply